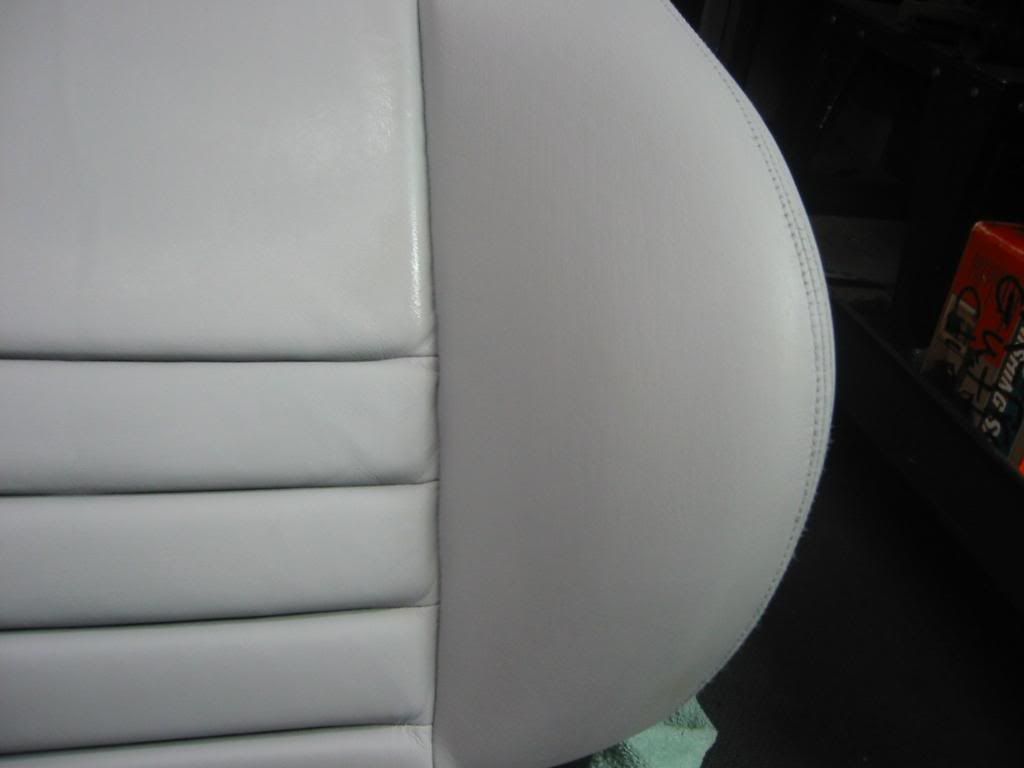
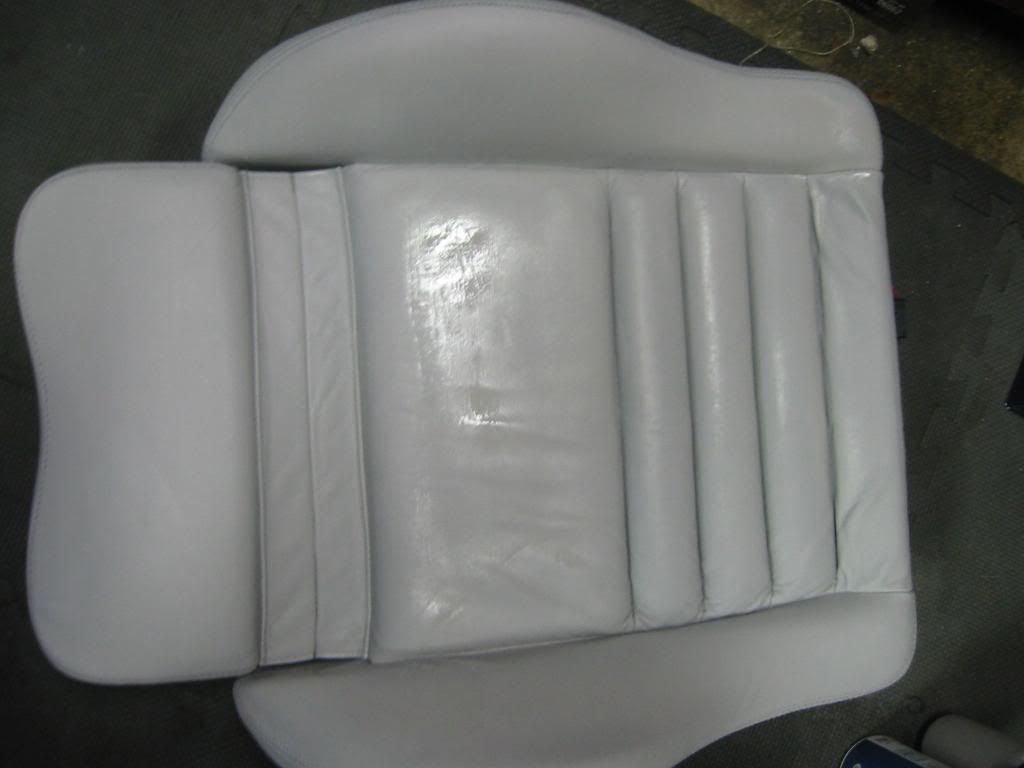
Finished Repair on lower seat;
(more pics at this thread...
http://318ti.org/forum/showthread.php?t=25597)
Refinishing the leather;
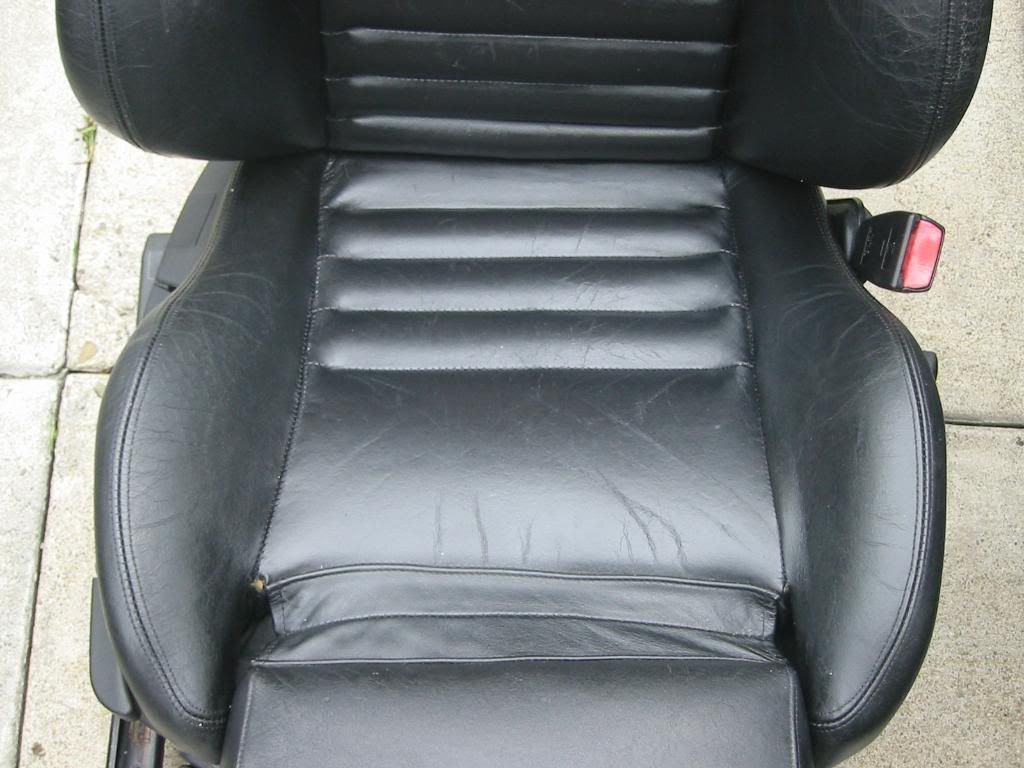
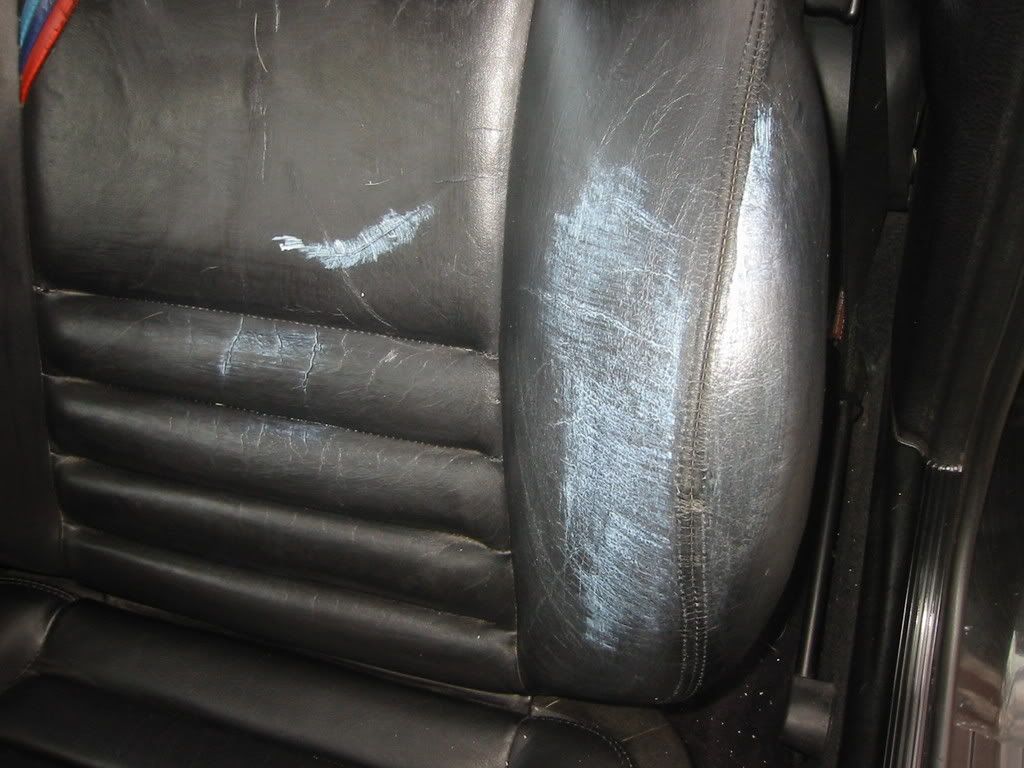
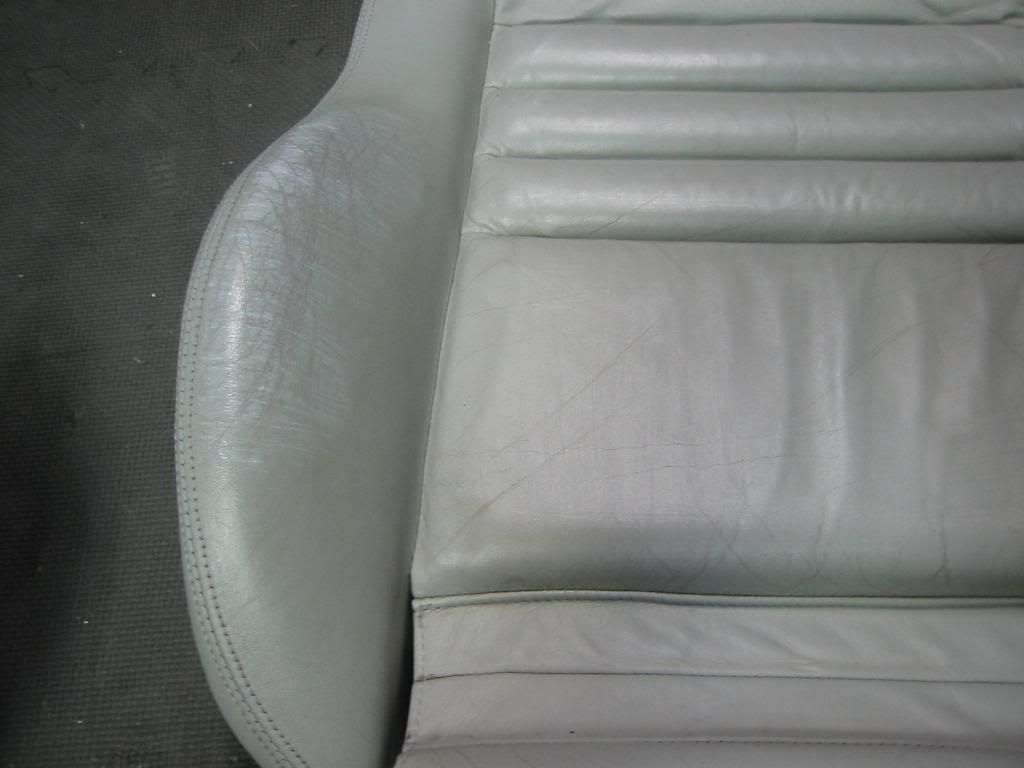
The dove seats in the coupe were very beat up and looked like they had never been cleaned. One of the upper side bolsters was completely worn down to the suede. The lower bolsters were also bad as were the headrests and thigh supports. There were also minor color variances between the seat parts, due to age and different dye lots. This meant a full re-color as well as re-finish. The black seats in the ti were older and had cracks, but the finish hadnt worn through
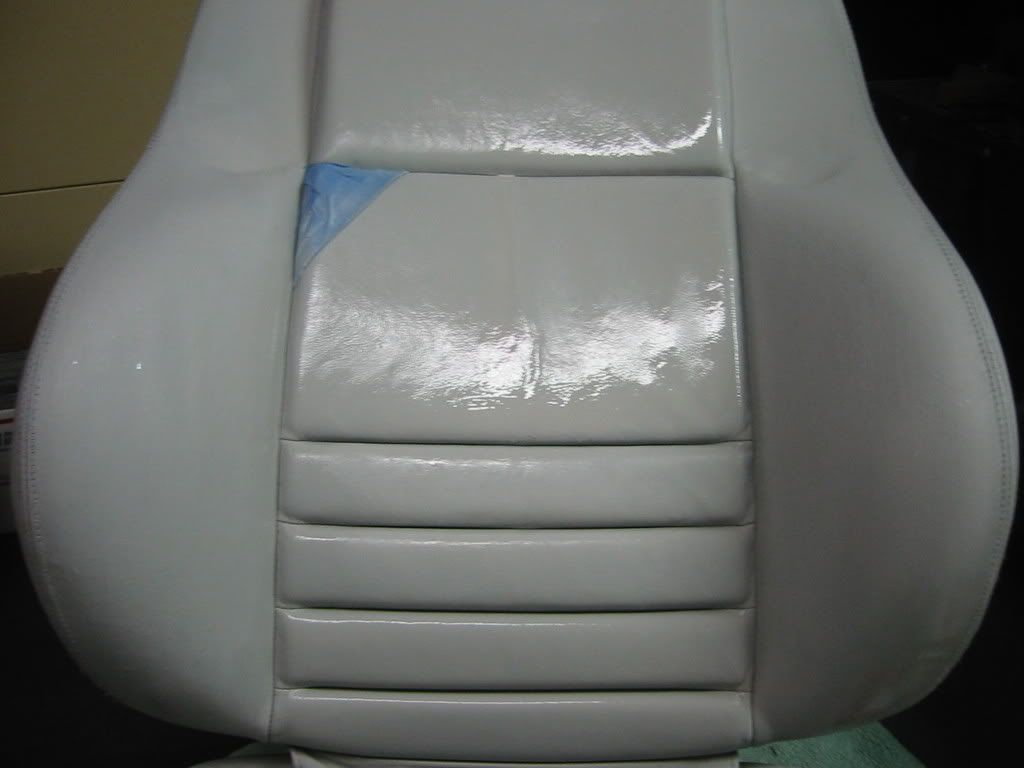
1. Prepping the seats for re-finishing involved getting all the dirt, oils and grime off, then prepping the surface. Mild dish or hand soap is good to get the surface clean, just dont get the surfaces too wet. A damp cloth or sponge is all you need to clean with and then scrubbing the surface with a nylon scrub pad gets most grunge off and preps the surface. Then using a mild alcohol-based cleaner in a spray/spritz bottle, spray the surface and wipe clean. Once its completely dry, the leather is ready for re-finishing. I also taped off any area that wasnt going to be re-finished (the M /// for example) with a good quality painters tape.
2. Using the flexible leather filler product, I started with the side bolster that was down to the suede. (The key here is to apply the filler in very light coats, and then sand the area in-between applications. I cannot repeat this enough. This will ensure you get good adhesion and a smooth finish.) The filler has the consistency of Elmers Glue and so I painted it on the seat using a disposable brush. It took at least 6 light coats of the filler to cover the sueded area of the leather, with a very light sanding between each coat. Always wipe the area down after each sanding to remove any dust or debris. Then I used the filler and painted the lower bolsters, the thigh rest, and filled in the creases and fine cracks, again with multiple light coats. Also, try not to get the filler on any stitches or seams, as it would fill them in and look poor. The filler goes on white, then dries clear, so be sure to look closely to ensure you have completely filled in the area you are working on.
3. The dye finish has a very thin and watery consistency, allowing for either a brush or spray application. The first coat should not completely color over the repaired area (if it does, youre putting it on too heavy). It should be streaky and thin. Let each coat dry, wipe the area with a dry cloth, and then apply the next coat. (Again, be extra light on the seams, so they dont get filled in.) I painted 3 to 4 light coats of color with a fine brush, and then finished with a spray coat, waiting about 15 minutes between coats (or until dry to the touch).
4. After the dye finish has cured for 24 hours, apply the finishing conditioner in light coats to the entire area, gently rubbing it in with a soft cloth.