» Site Navigation » Site Navigation | | | | » Recent Threads | looove 04-16-2024 01:18 PM 04-16-2024 01:18 PM 0 Comments, 348 Views | | | lolita porn 04-13-2024 11:45 PM 04-13-2024 11:45 PM 0 Comments, 209 Views | lolita porn 04-13-2024 11:43 PM 04-13-2024 11:44 PM 1 Comments, 135 Views | lolita porn 04-13-2024 11:40 PM 04-13-2024 11:41 PM 1 Comments, 131 Views | lolita porn 04-13-2024 11:38 PM 04-13-2024 11:39 PM 1 Comments, 134 Views | lolita porn 04-13-2024 11:36 PM 04-13-2024 11:37 PM 1 Comments, 133 Views | lolita porn 04-13-2024 11:35 PM 04-13-2024 11:35 PM 0 Comments, 115 Views | lolita porn 04-13-2024 11:34 PM 04-13-2024 11:34 PM 0 Comments, 120 Views | lolita porn 04-13-2024 11:33 PM 04-13-2024 11:33 PM 0 Comments, 115 Views | |  |  |  | | ***DIY*** Relocating The Battery To The Cargo Area ***for the engine swap guys*** Published by cooljess76 07-17-2009 |  ***DIY*** Relocating The Battery To The Cargo Area ***DIY*** Relocating The Battery To The Cargo Area
As most of you already know, e36 coupes, sedans and convertibles have a trunk mounted battery while the 318ti houses the battery on the passenger side of the engine compartment. '96 and newer 318ti's are OBDII which means that they are equipped with an M44 engine that uses a secondary air pump as a component for the emissions system. The secondary air pump is normally mounted on the driver's side strut tower in the engine compartment. On 6cyl e36 models, the secondary air pump is mounted where the battery would normally be located on the 318ti. One of the major benefits of relocating the battery is the vehicle's weight distribution. If you're installing a 6cyl powerplant into your 318ti(M50, M52, S50, S52), you should know that it weighs about 80lbs more than the M42/M44 engine that you're removing. In order to restore the 50/50ish weight balance of the car, you'll need to shift approximately 40lbs to the rear of the vehicle. Another benefit is the ease of wiring. The factory 318ti engine wiring harness has a positive cable with a clamp to attach to the battery. The 6cyl wiring harnesses do not. Instead, they connect to a power distribution block which is mounted to the passenger's side inner fender just aft of the strut tower. And finally, the other reason to relocate the battery is the secondary air pump. The 318ti has the same plate pre-installed to mount the 6cyl secondary air pump. It's used as a battery tray on the 318ti, but once you remove the 318ti's plastic battery box you'll notice that the plate below it has threaded holes in exactly the same configuration as the other e36 models for mounting the secondary air pump. Since all of the parts needed to relocate the battery are sold individually, I recommend sourcing them used from a donor vehicle. It will probably cost a fortune if you decide to order everything new. However, if you're having a dificult time locating a part or if you're rich, feel free to look up the part numbers @ www.realoem.com or have the dealership find them for you  I'd like to add that my install and wire routing is exactly the same as the factory installation on my M3 that I removed the components from. You're welcome to route your wire however you you want on your car, but I'd recommend sticking to the factory specs for safety reasons. Take some time to read through this before you begin this project. Always inspect the components thoroughly for damaged/exposed wire and safety hazards prior to and after installing. Enough talking, lets get to work! Step 1) REMOVE BATTERY If you can't figure out how to remove your battery, this project is not for you. 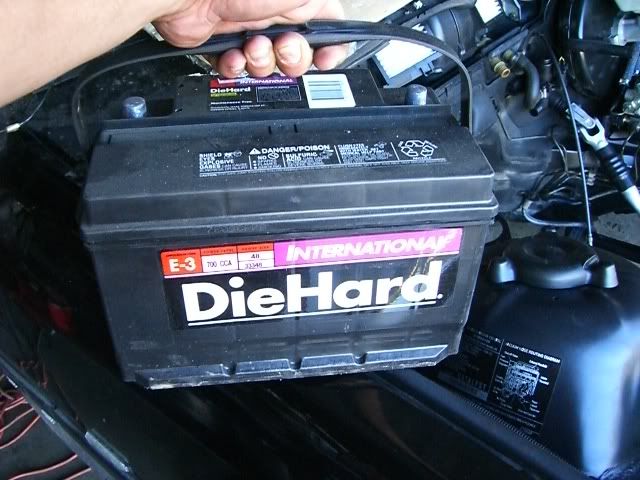 Step 2)REMOVE BATTERY BOX This will require you to remove the negative cable. Save this cable, you'll need it later when you install the battery in the cargo area. The plastic battery box may be used to contain the battery once it's relocated. 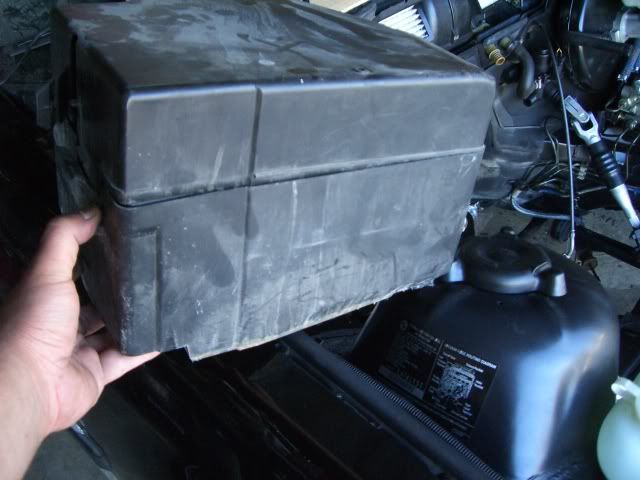 Step 3)REMOVE PASSENGER SEAT Only after the battery is disconnected and removed, should you attempt to remove the seat. The reason for this is because if you disconnect the electrical connectors under the seat while the battery is still hooked up, it will trigger an SRS light that requires a special tool to reset. 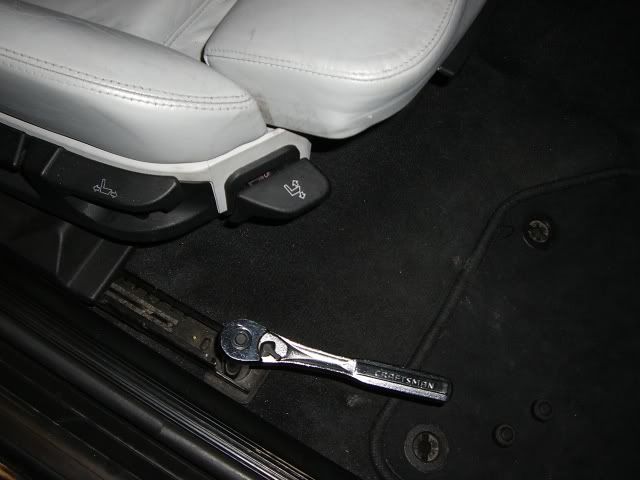 once mounting hardware is removed(two 16mm nuts & two 16mm bolts) tilt the seat back to expose the underside:  Disconnect underseat connectors:  | Tutorial Tools | | |
|  | | | | | | |
Step 4)REMOVE TRIM PANELS AND GLOVE BOX Start with the glove box. There's a bunch of phillips head screws holding it in place. Don't force anything. If you feel any resistance, you've probably missed a screw. This includes removing the cardboard underpanel in the leg well. Be sure to unplug the two connectors for the glove compartment light and close switch as well as the connector for the leg well light. Now, remove the speaker cover from the leg well. Do so by first loosening the plastic fastener with a flathead screwdriver. Then pull inward while sliding aft. Sorry no pic. Step 5)REMOVE THE REAR SEAT BOTTOM AND PASSENGER'S SIDE BOLSTER Sorry no pics of this either. Just lift up on the seat cushion, it'll pop right out. Remove from car and set aside. The rear side bolster is secured with a plastic fastener located at the bottom. You should be able to turn it by hand, but it may be easier with a 10mm socket. Once the fastener is removed, slide the bolster upward to release it from it's brackets. Set it aside. Step 6)LIFT UP THE CARPET You'll need to disconnect the seat belt bar, pop the plastic cover off and remove this bolt: 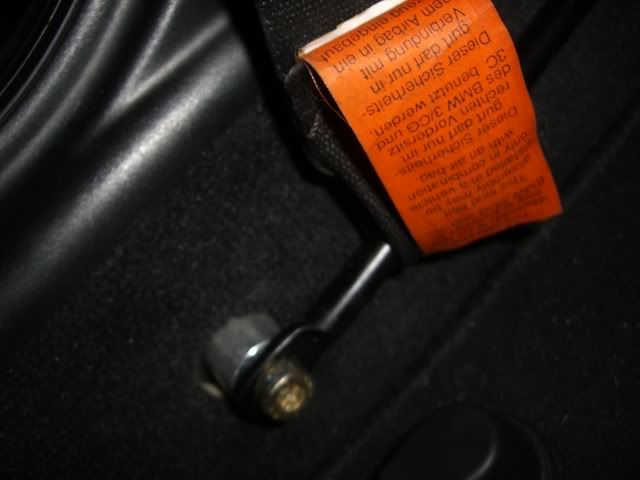 Lift the carpet up and fold it over towards the driver's side. | | Last edited by cooljess76; 07-17-2009 at 09:34 AM.. | | |
Step 7)PUNCH OUT HOLE IN FIREWALL Underneath the battery tray there is a punch-out plate located on the firewall. I was unable to locate the plate while looking under the dash, so I first knocked it inward from the engine compartment. I used a long extension and whacked it with a hammer. Then I went under the dash and repeated the same process, knocking the plate back into the engine bay and removed the round piece of metal: 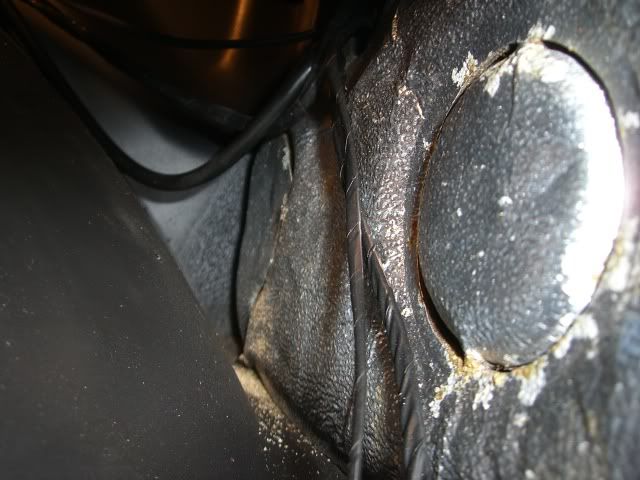 View of punch-out plate from under the dashboard in the passenger's side leg well: 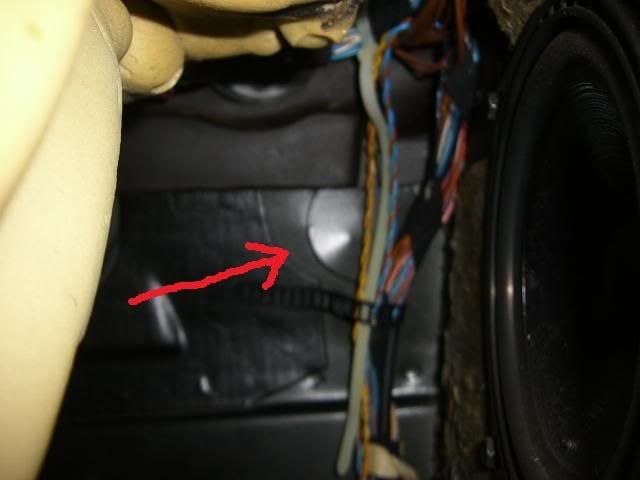 Punch-out plate being removed: 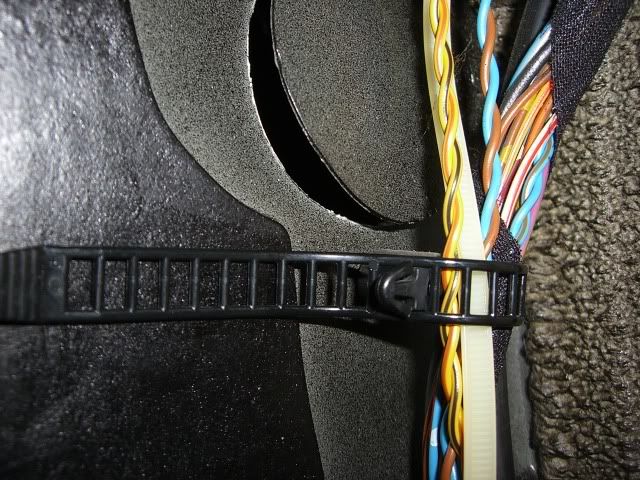 Plate removed, viewing from engine compartment(yes this is my M3, I forgot to snap a pic on the Ti but it looks exactly the same) 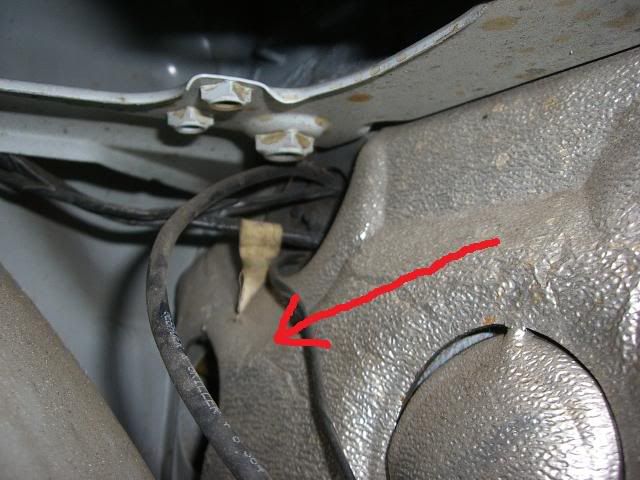 Plate removed: 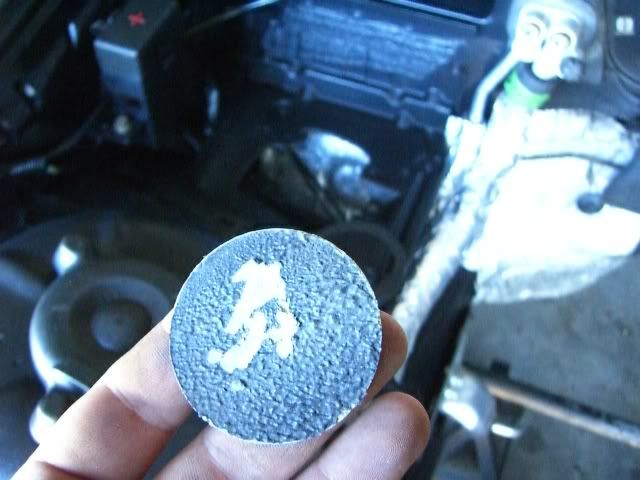 Step 8)INSTALL POSITIVE DISTRIBUTION BLOCK Rip out the plastic thing that is attached to the inner fender just aft of the strut tower and toss it in the trash. You will see two small square holes in the inner fender. I hope you grabbed the two plastic threaded inserts from the donor car because that's what those two square holes in the body are for, lol. Insert the plastic anchor nuts in the square holes, then bolt your distribution block onto the inner fender: 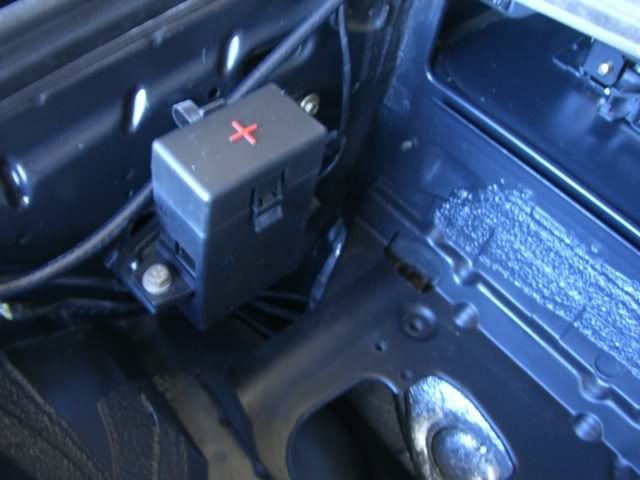 | | Last edited by cooljess76; 07-18-2009 at 06:32 PM.. | | |
Step 9)ROUTE CABLE THROUGH FIREWALL Working from under the dash, route the positive cable trough the hole in the firewall into the engine compartment. Once the cable is through the hole, you may need to go back and forth to get the rubber seal to seat around the hole. This takes a little patience, but make sure it's seated properly as to achieve a nice weather tight seal: 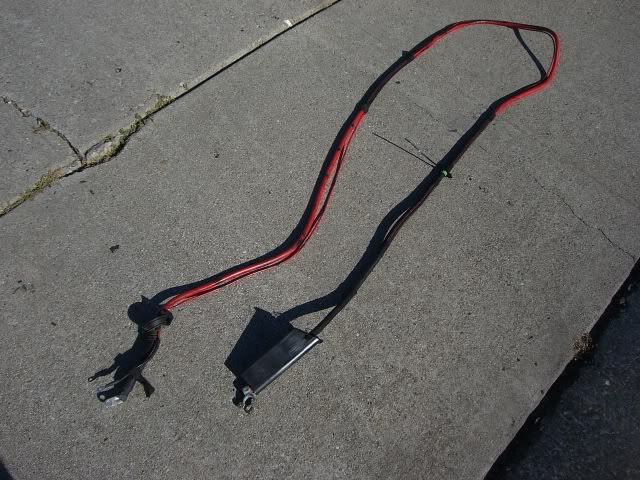 View from under dash: 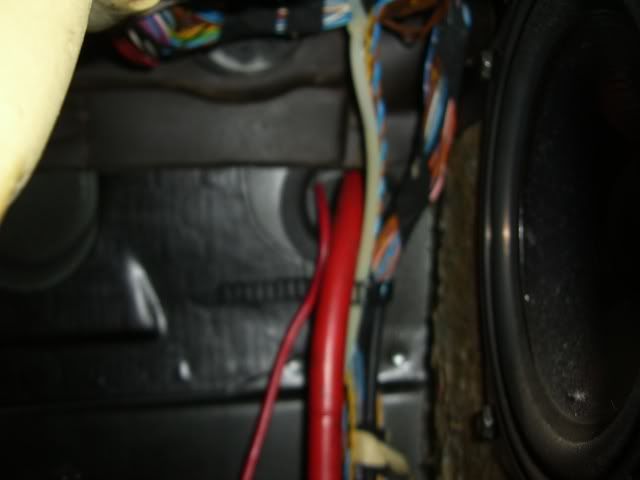 View from engine compartment: 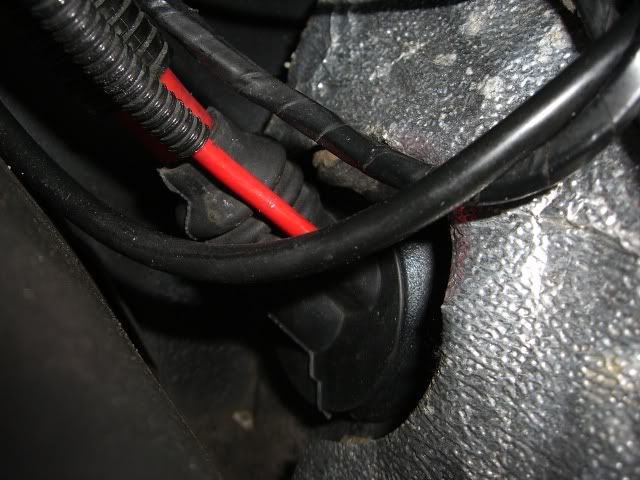 Step 10)CONNECT CABLES TO DISTRIBUTION BLOCK You're gonna be moving the cable around a lot while positioning it inside the car. Connect it to the distribution block so it doesn't accidentally get pulled back through the firewall: 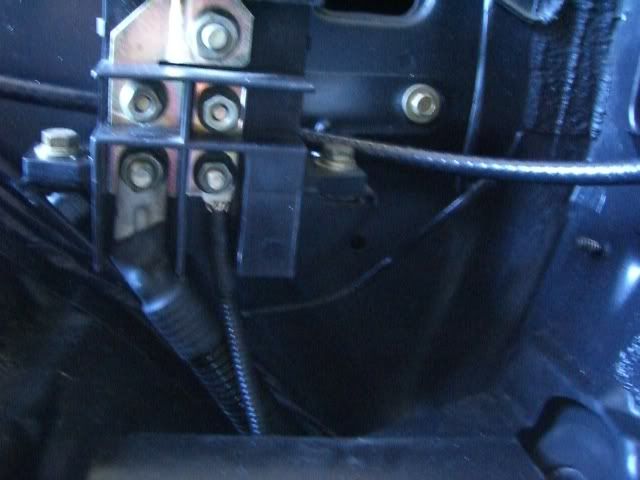 | | Last edited by cooljess76; 07-18-2009 at 06:35 PM.. | | |
Step 11)MORE CABLE ROUTING Lift the white plastic cover from the floorboard. Take the end of the cable with the terminal clamp and slide it through the metal channel between the white and black plastic covers. Pull the slack out of the line and replace the white cover. Looking forward at the firewall from outside the passenger's door: 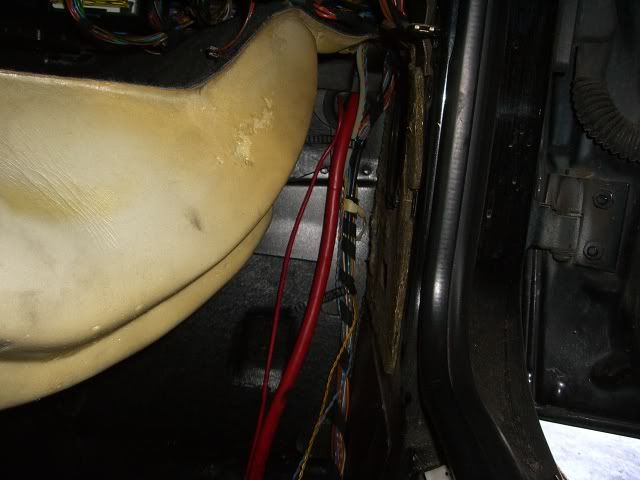 This is the white cover under the carpeting on the passenger's side floorboard: 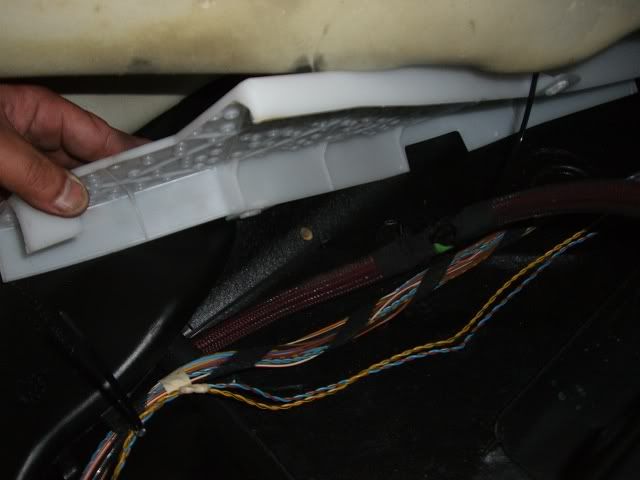 This is the metal channel aft of the white plastic cover. View of terminal clamp going in: 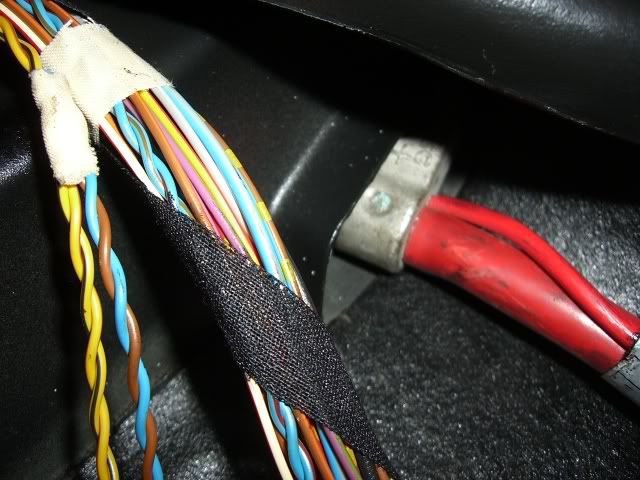 Clamp coming out. Pull the slack through the metal channel: 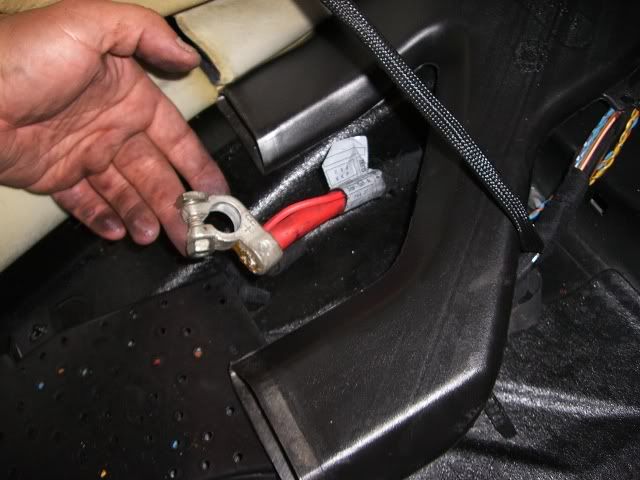 Replace white cover: 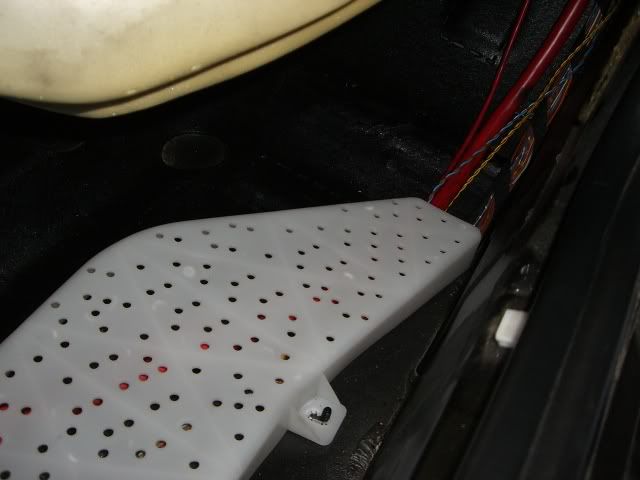 Do the same with the black cover: 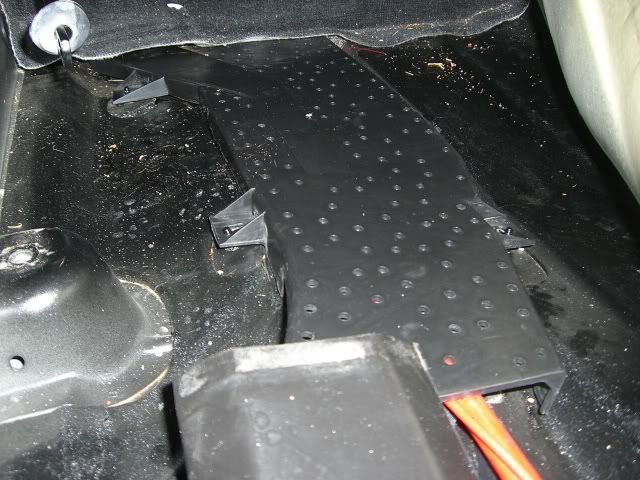 | | Last edited by cooljess76; 07-18-2009 at 06:43 PM.. | | |
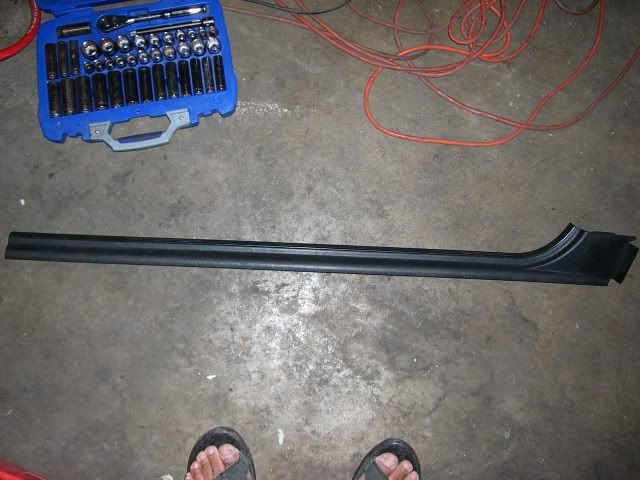
Up and over the rear seat platform. If you look at the base of the rear seat against the bulkhead, there's a plastic track that looks as if it were meant to route the cable. I used this track and the cable snapped in place perfectly: 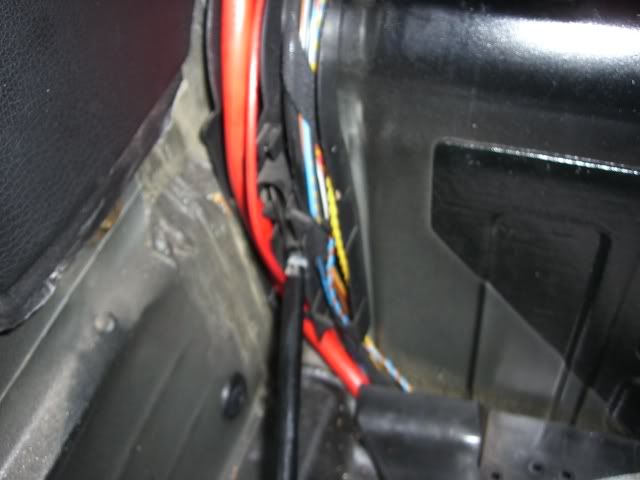 Over the rear seat along the bottom of the side panel and into the cargo area. I routed the cable behind the carpeted side panel in the cargo area. Make sure that the seatback will not damage/chafe the cable when you raise and lower it. I chose to go behind the rear passenger's seat belt so it wouldn't be disturbed when rear passengers buckle up: 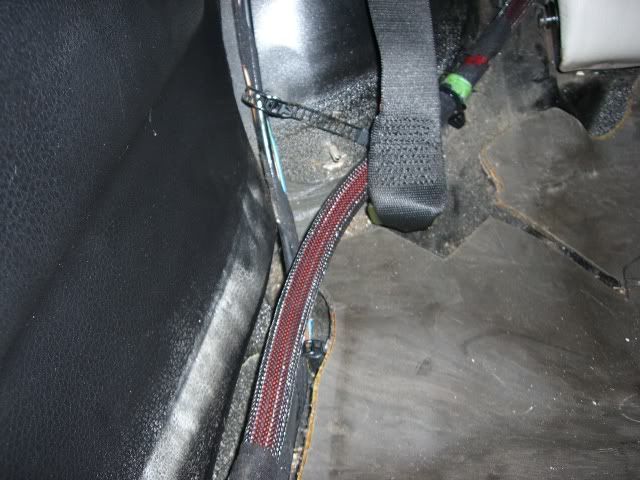 Step 12)MOUNT THE BATTERY You can't have the battery sliding around in the cargo area. It needs to be secured somehow. That being said, you're on your own until I actually mount mine. I plan on removing the storage compartment on the passenger's side of the cargo area. This will not free up enough room for the battery thus modification of the tool/jack compartment will be necessary. I also recommend using the 318ti's stock plastic battery box to contain the battery and protect the terminals from shorting out on gear and materials sliding around in the cargo area as well as contain any possible leakage of the battery. You'll also need to find a ground to mount your negative cable to. I'm probably going to weld a stud to the chassis somewhere in the tool/jack compartment so the negative cable can reach the terminal on the battery. Step 13) REASSEMBLY Refer to steps 3-6 and put your interior back together. Remember to connect the three plugs under the passenger seat, two plugs above the glove compartment and single connector to the leg well light. Also, remember to connect the positive leads from the engine wiring harness to the appropriate terminals on the distribution block. Step 14) HOOK UP THE BATTERY YOU'RE DONE!!! Hope you found this tutorial helpfull. That trim panel along the door jam was a bitch wasn't it  Happy motoring you SIX CYLINDER ///MANIACS | | Last edited by cooljess76; 07-17-2009 at 07:33 AM.. | | |
Great guide jess. Thanks for the pictures. I just might have to do this. My rear slips out a lot more easily on dry concrete on jumps, and on sharp turns. I can only imagine how it's gonna be when it rains. | | | | |
Thanks Joey. I spent a lot of time writing it. I might go back and post part numbers and I'll defintely follow up and post pictures of the battery installed once I finish modifying the tool/jack compartment. Glad you liked it. | | | | |
great write-up, I was able to run the wire for my sub through the same area without having to remove the lower part of the dash or glovebox, just that cardboard thing way on the bottom, just something to keep in mind if you're young and flexible like myself  | | | | |
Thanks Brendan. You certainly can do this without removing the glovebox. I had to remove it anyway to swap out the EWS module though. However, removing the glovebox does make it easier to remove the cardboard underpanel without damaging it, so I'd recommend spending the extra minute or so to remove the 4 screws and 2 connectors holding the glovebox in place | | | | |
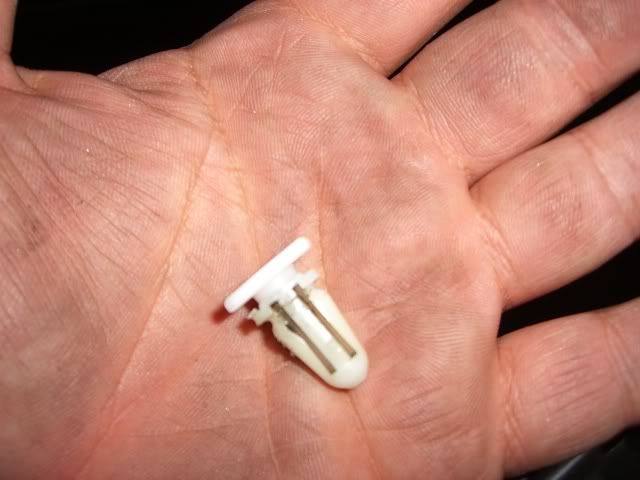
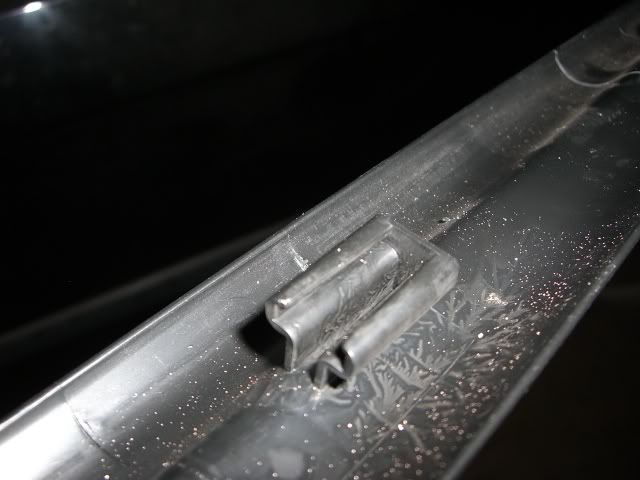
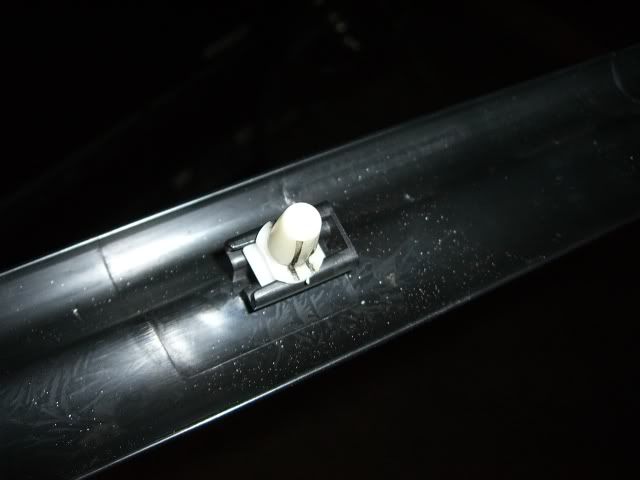
Jess, sweet writeup Damn good job. So, how'd you pop the door sill trim clips out? I've tried twice on ones that were previously broken, and broke them even more. Can't get the damn things out, so my sill is only half attached  | | | | |
I broke a couple myself, luckily I have a wrecked M3 sitting next to me, lol. I tried using pliers, didn't work, just broke the clips. I ended up using two flat head screwdrivers. The tops of the clips are shaped like a rectangle. If you lay the blade of the screwdriver flat at the bottom of the short side of the clip, then hit the handle of the screwdriver with the palm of your hand, one side of the clip will pop up slightly. Twist the screwdriver to get the clip to come up as far as possible. Keep the screwdriver in place and then jam another screwdriver under the opposite side of the clip. It takes some serious patience, but once you master the technique, the rest are easy. Of course, the proper tool for removing the clips is a pickle fork which I've yet to purchase. | | Last edited by cooljess76; 07-19-2009 at 03:30 AM.. | | |
Once again, thanks for the great info Jess. I should probably just order some for when they break. Hopefully i've got luck tomorrow. Tried just sliding the piece onto the clips, but I need about 5 hands to get it right | | | | |
I must have spent over an hour trying to slide the trim panel back onto the clips, lol. I was at the very edge of my sanity when I finally came to terms that I had to remove the clips from the car. The reason I was so persistant at sliding the rail back on was because I previously tried to remove one of the clips with no success several times. I went back in forth between trying to remove the clips and trying to slide the rail onto the clips which resulted in me sitting on the garage floor soaked in sweat, cursing at my car. The damn clips fit so tightly into the body of the car that even a pickle fork would be difficult to jam underneath them. Once I got the first one out, despite it being mangled and unusable, I was able to determine how it functioned and developed a technique to remove the rest of them. That stupid trim piece was by far the most difficult part of this whole process. The rest of the battery relocation procedure was a cake walk compared to that one plastic nightmare. | | | | |
good thing mine don't even stay on  | | | | |
| Currently Active Users Viewing This Tutorial: 1 (0 members and 1 guests) | | | | Tutorial Tools | | | | Display Modes |  Linear Mode Linear Mode |
 Posting Rules Posting Rules | You may not post new threads You may not post replies You may not post attachments You may not edit your posts
HTML code is On
| | |
|