318ti.org forum

Go Back   318ti.org forum > Technical, Maintenance and Modifications > Knowledge Base

Notices

Knowledge Base How to articles and things explained.

.
» Recent Threads
looove
04-16-2024 01:18 PM
Last post by RichardBug
04-16-2024 01:18 PM
0 Comments, 424 Views
Brakes - soft pedal and...
04-14-2024 01:02 PM
Last post by bcp
04-14-2024 01:09 PM
1 Comments, 1,020 Views
lolita porn
04-13-2024 11:45 PM
Last post by Josephtus
04-13-2024 11:45 PM
0 Comments, 213 Views
lolita porn
04-13-2024 11:43 PM
Last post by Josephtus
04-13-2024 11:44 PM
1 Comments, 140 Views
lolita porn
04-13-2024 11:40 PM
Last post by Josephtus
04-13-2024 11:41 PM
1 Comments, 143 Views
lolita porn
04-13-2024 11:38 PM
Last post by Josephtus
04-13-2024 11:39 PM
1 Comments, 143 Views
lolita porn
04-13-2024 11:36 PM
Last post by Josephtus
04-13-2024 11:37 PM
1 Comments, 137 Views
lolita porn
04-13-2024 11:35 PM
Last post by Josephtus
04-13-2024 11:35 PM
0 Comments, 121 Views
lolita porn
04-13-2024 11:34 PM
Last post by Josephtus
04-13-2024 11:34 PM
0 Comments, 126 Views
lolita porn
04-13-2024 11:33 PM
Last post by Josephtus
04-13-2024 11:33 PM
0 Comments, 118 Views
Comment Share/Bookmark
 
Tutorial Tools Display Modes
[DIY] Rear Mtech bumper look alike
[DIY] Rear Mtech bumper look alike
Published by ranster
04-12-2008
Default [DIY] Rear Mtech bumper look alike

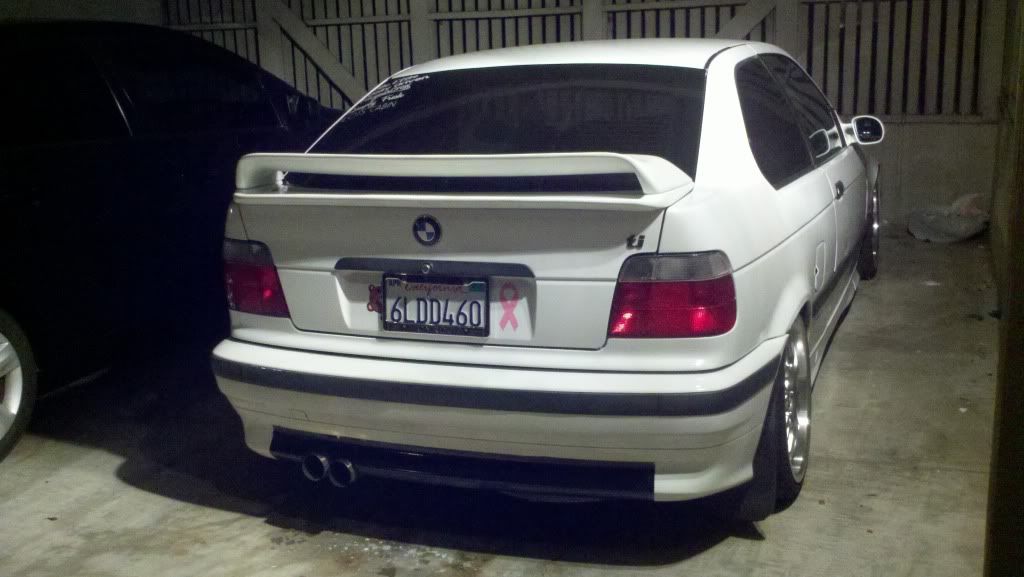
After getting frustrated from looking after an mtech rear bumper, and after someone bumped into my rear bumper I decided to give my artistic background a try :wink:

the ingredients:
1 x black matt spray
1 x ultra fine sanding paper (p1000 and above will do just fine)
1 x Pressure sensitive adhesive tape (masking tape).
1 x thinner
1 x old newspaper

1. mark the "mtech lip" using the adhesive tape and cover the rest of the bumper with paper/newspaper
I used the center bumper trim as a reference for how wide it will be.


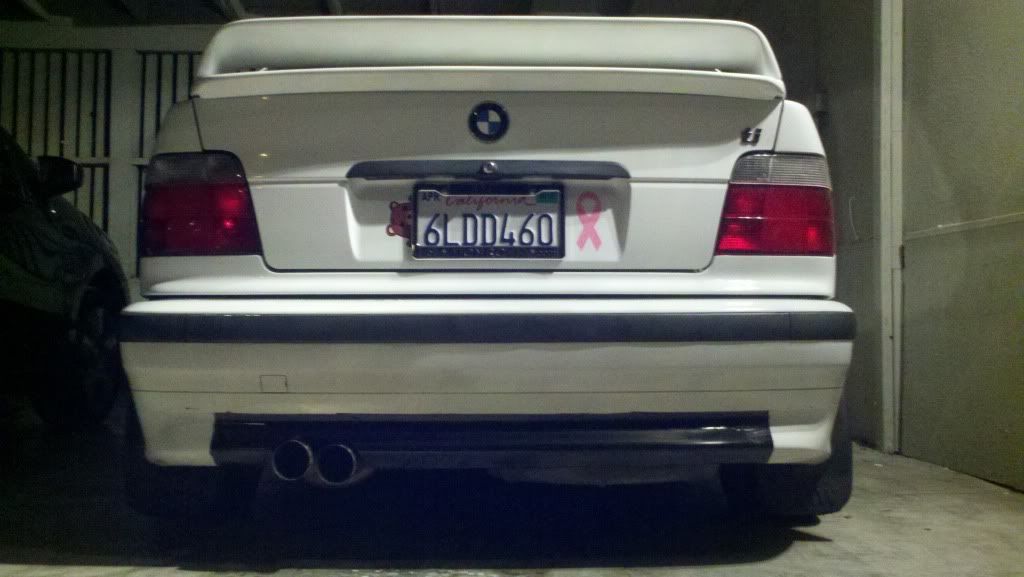
2. use the sanding paper on the bordered area.

3. clean the bordered area using the thinner and a clean rag.

4. spray the area slightly until getting a nice even black surface.


Tutorial Tools

  #1  
By ranster on 04-12-2008, 11:07 AM
Default more pix...

5. remove adhesive tape and you're ready to go!


Attached Images
File Type: jpg IMAG0037.jpg (88.1 KB, 107 views)
File Type: jpg IMAG0042.jpg (78.8 KB, 105 views)
Reply With Quote
  #2  
By elchicano on 04-12-2008, 03:02 PM
Default

ha! nice work. Far away you wouldn't notice it.
Reply With Quote
  #3  
By H3_2.1-ti on 04-12-2008, 03:06 PM
Default

Well done...
Reply With Quote
  #4  
By thesk8nmidget on 04-12-2008, 03:25 PM
Default

nice idea! would be even cooler if you got a diffuser from an m3 or something and moddeed that to fit!

whos red ti?
Reply With Quote
  #5  
By ranster on 04-12-2008, 04:28 PM
Default

Quote:
Originally Posted by thesk8nmidget View Post
nice idea! would be even cooler if you got a diffuser from an m3 or something and moddeed that to fit!

whos red ti?

thought about it but it went sooo nice in the end that now i wouldn't bother trying it.
btw, even by standing next to the car it looks like it is not part of the bumper. cool stuff!

the red Ti is my brother's car

Cheers,
Ran
Reply With Quote
  #6  
By lazoh on 04-12-2008, 05:14 PM
Default

Very nice!!! I like it!!
Reply With Quote
  #7  
By 96cali on 04-13-2008, 05:44 AM
Default

Nice work! I think I might like to see it transition up from the bottom with a curve, instead of trying to mimick the sharp, vertical corners of the sport diffuser though. Just my .02, hope you don't mind.
Reply With Quote
  #8  
By Benji on 04-13-2008, 07:01 AM
Default

Nice job, be interested to see this done on a different color car as I think the contrast is helping it, I think on a darker color car where the contrast would not be as high, this would not work as well, but I look forward to seeing other pictures to see if I am wrong.
Reply With Quote
  #9  
By ranster on 10-07-2008, 05:56 PM
Default

On a red TI
Attached Images
File Type: jpg IMG_6960 [800x600].jpg (66.2 KB, 231 views)
Reply With Quote
  #10  
By Maverix on 10-07-2008, 06:05 PM
Default

Haha that's neat! I'm gonna do that when I start working on my body.
Reply With Quote
  #11  
By madfronter on 10-07-2008, 06:12 PM
Default

lets see how it looks on a black ti...oh wait that won't work...lol
Reply With Quote
  #12  
By JunpoweR on 06-05-2010, 09:31 PM
Default

Almost got me!
haha
Reply With Quote
  #13  
By eurohb on 10-17-2011, 06:46 AM
Default

Doing this right now! lol
Reply With Quote
  #14  
By eurohb on 10-17-2011, 07:01 AM
Default

Here's mine.. I think i taped too high


Reply With Quote
Comment

Bookmarks


Currently Active Users Viewing This Tutorial: 1 (0 members and 1 guests)
 

Posting Rules
You may not post new threads
You may not post replies
You may not post attachments
You may not edit your posts

BB code is On
Smilies are On
[IMG] code is On
HTML code is On

Forum Jump


All times are GMT +1. The time now is 06:42 AM.


.
Powered by site supporters
vBulletin Version 3.8.8
Copyright ©2000 - 2024, Jelsoft Enterprises Ltd.
Copyright ©1999 - 2024, 318ti.org

Tutorial powered by GARS 2.1.8m ©2005-2006
© vBadvanced CMPS v3.2.2
[page compression: 83.73 k/115.82 k (27.70%)]

318ti.org does not warrant or assume any legal liability or responsibility for the accuracy, completeness, or usefulness of any information or products discussed.