I started off yesterday by installing my new tensioner with the new plug and washer.
Old vs New

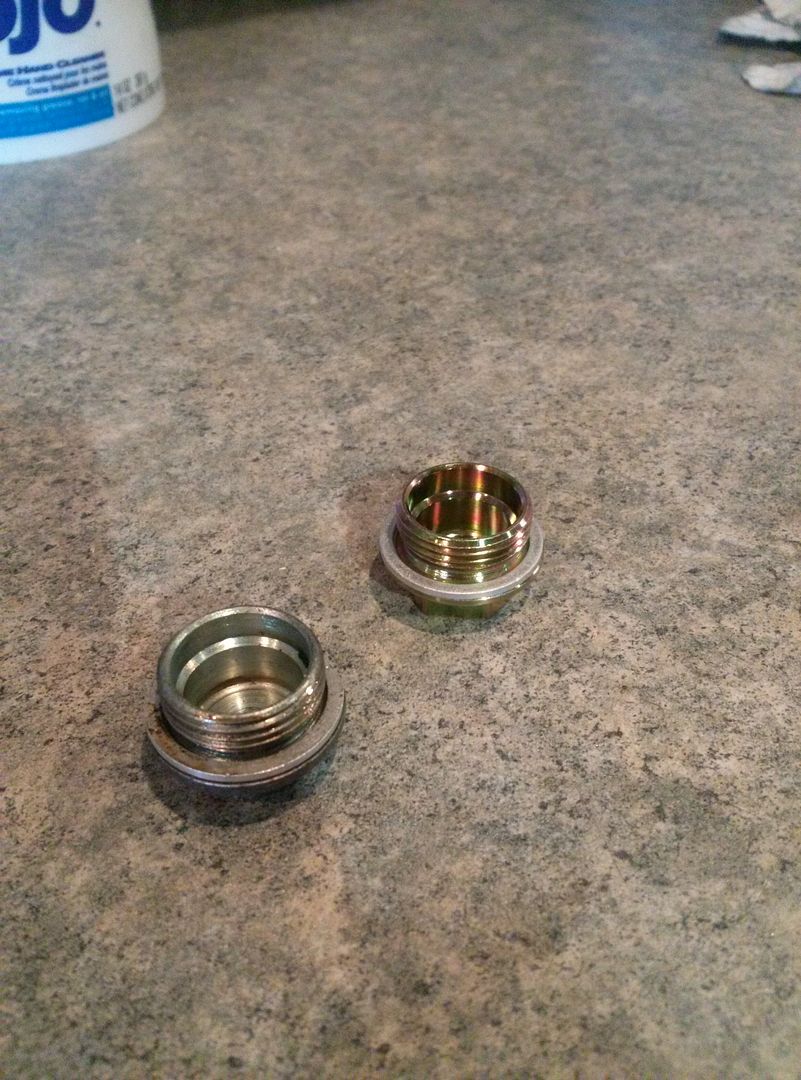
Tensioner

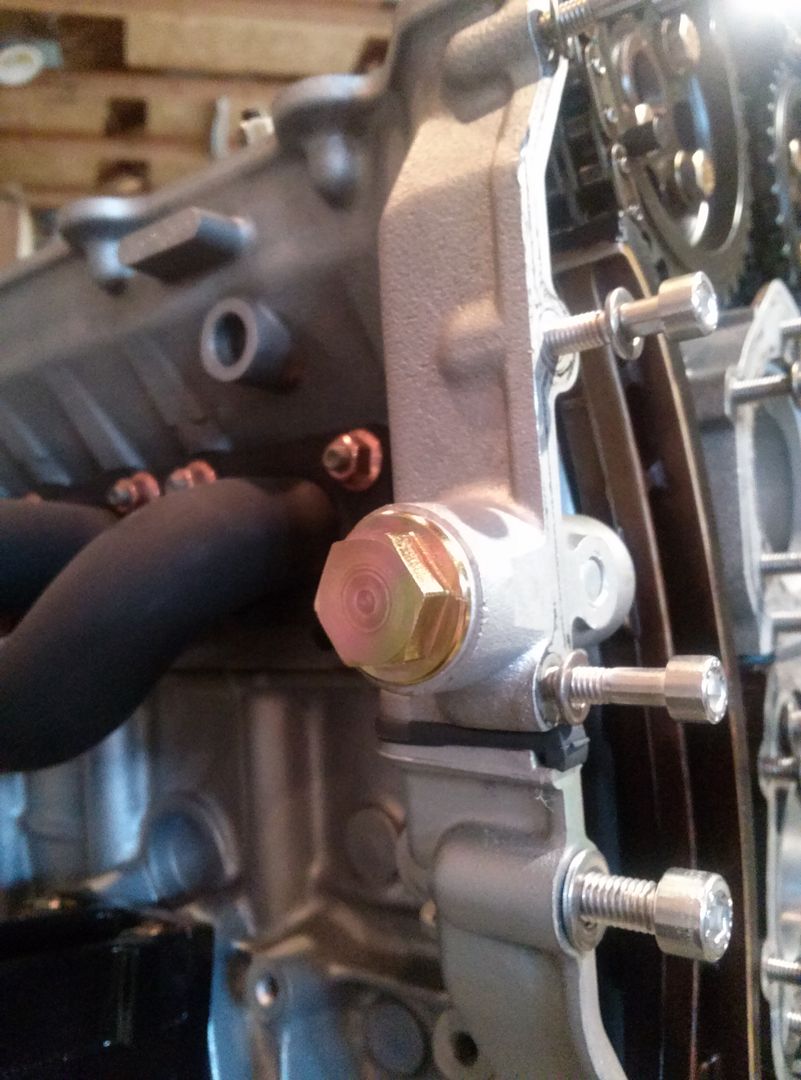
Installed and torqued
When I put it in it was short. The manual said to press the chain guide into it and release it. It only listed that for the m42 tensioner and not the m44 tensioner. I think I managed to get the m42 tensioner since I can see the snap ring when the tensioner is realeased. It isn't a big deal, but I swear I ordered the m44 tensioner.
After I released the tensioner, I torqued the cam sprockets down and also torqued the upper chain guide.
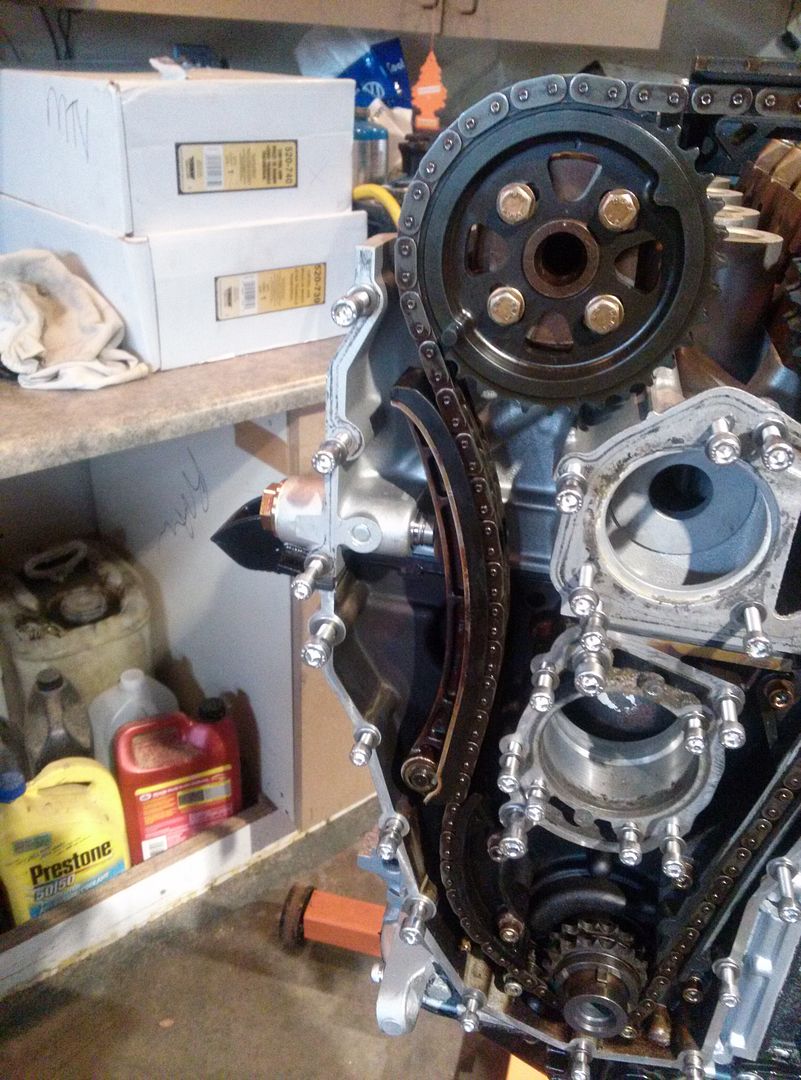
After that I cleaned the gasket surfaces and installed the lower timing cover hand tight.
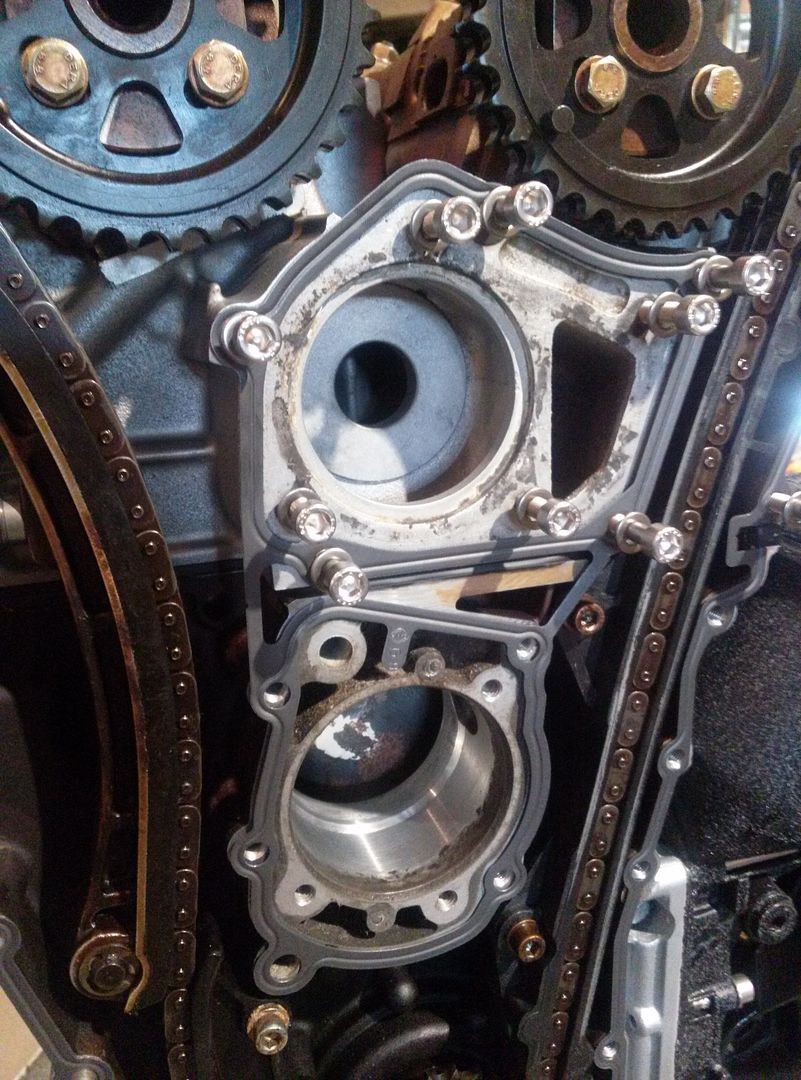
Bolts out and surface cleaned

Gasket on

Cover on hand tight

At this point I was going to torque it all down hardware but thought I should check the timing first. The cam and cam sprocket marks line up perfect but I was still unsure of if I had the engine at TDC when I put the chain on.
I put the cam bolt in and turned it with a ratchet and it seemed to stop after a quarter turn. I couldn't tell if the bolt was just tightening, the springs got super stiff at that point, or if the piston was hitting a valve. Instead of cranking on it I just backed off and am having a buddy come check it out next weekend just to check it over for me=)
I figured while I was working on that, I could get the crank pulley flange all cleaned up and ready to go on.
When the crank bolt initially came out I had my friend get it out with an impact, but he KO'd the dowel pin for the crank pulley. I ordered a new one for a few cents and pounded it in yesterday.
Old vs New

Installed
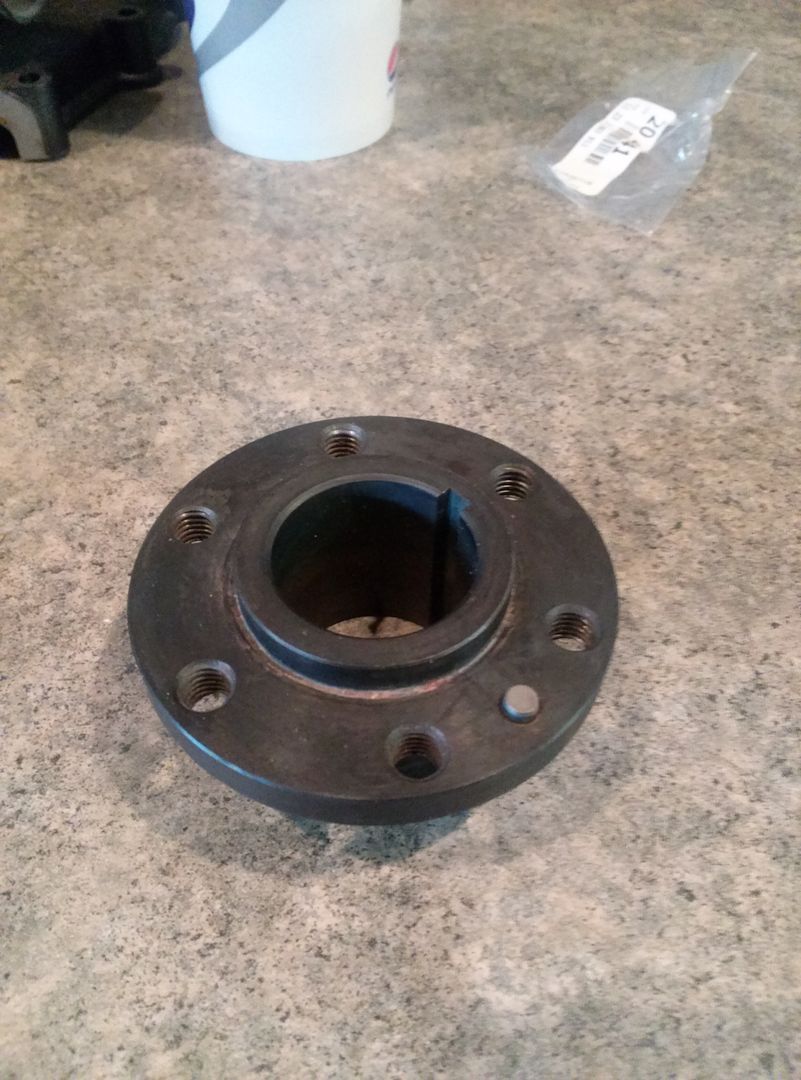
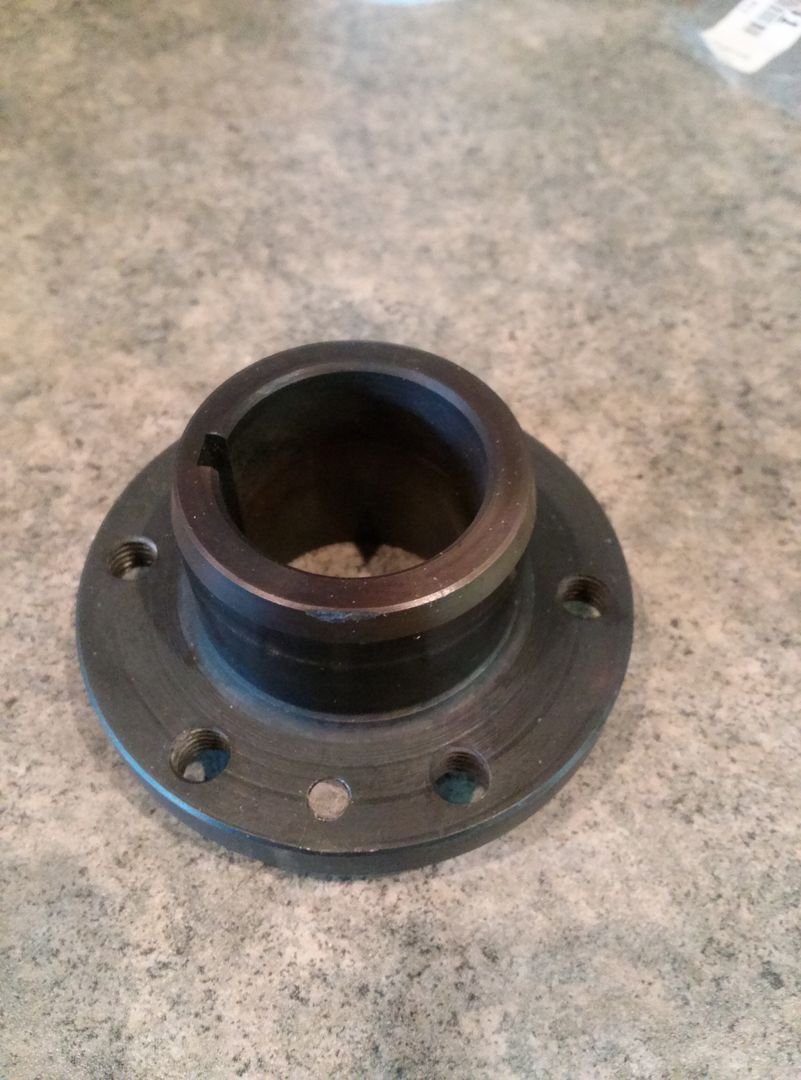
At that point I went to attach the crank pulley but bent the mounting surface by trying to draw it on using the 6 bolts. It didn't want to go on nice since the fresh paint didn't allow much clearance. I am going to be sanding that ID out at work and getting it painted back up and installed before the week is over. I am glad I noticed when I did that it wasn't drawing on straight.
At this point I was as far as I could get with the engine so I started on the template for the false floor.
Initial shape from tracing the carpet and side cubbies and oversizing it a bit

After a bit of trimming I got close to what I need. There are some spots where I cut it too small and I need to tape on pieces to make the template correct. Otherwise it should be pretty good. I did figure out that I will need to make the false floor in two halves because it does not want to fit through the hatch as one piece. I will still wrap it in carpet as one piece though.

My buddy Kyle woke up a little late, but made up for it by getting a lot of the seams left on the strut towers welded up. Next time he comes out he will be smoothing them all out. He did start welding on the firewall but it was short lived.
He was welding it and I turned and said we should peel the carpet back to keep it from burning. I opened the passenger side door and the car was filled with smoke. I looked under the glovebox and didn't see anything initially. After a few more seconds I could see some embers coming through the carpet and at that exact moment, my buddy Jory threw my water bottle to me and said "Douse it!". I squirted the bottle and out it went. I got the glovebox out with the quickness to make sure nothing was by the wiring. It ended up stopping right under the carpet. The foam carpet insulation helped slow the fire down which is great. I am happy I said something when I did and I have to get a new carpet anyways=)
Next weekend the engine timing should be all sorted out so that I can get the engine together further. I might even start making the false floor with MDF.
I also found a new daily that I will hopefully be rolling in soon=)


 , some of my previous cars where actually pure function (think complete stripped interior,no A/C, Radio,Airbags etc) but back then I thought I was fast (big lol to that), but this is your story not mine, so lets stay on track. Keep the build up !


 Linear Mode

