 » Site Navigation » Site Navigation | | | | » Recent Threads | | | |  |  |  | |  01-29-2008, 08:22 PM 01-29-2008, 08:22 PM | #1 | | Senior Member Join Date: Aug 2007 Location: Monterey, CA Posts: 770 |  S52 OBDII to OBDI M50 Manifold Swap DIY S52 OBDII to OBDI M50 Manifold Swap DIY
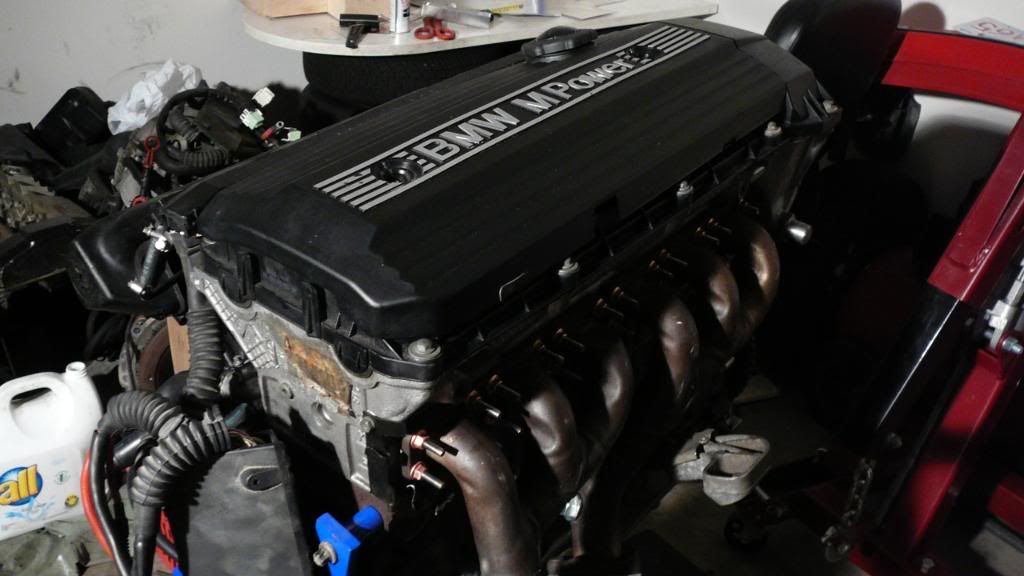
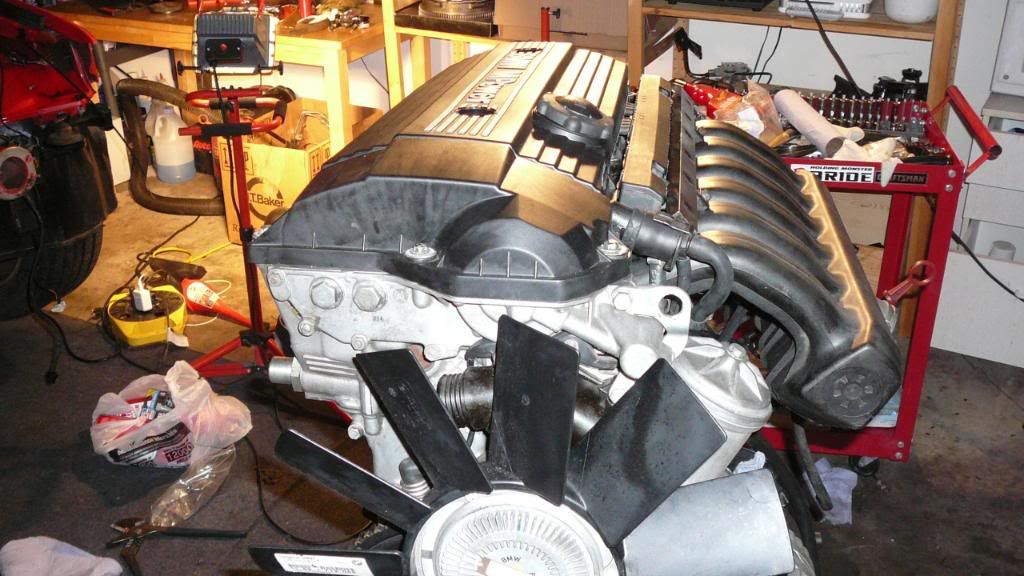
First of all I would like to thank a few people that were instrumental in helping complete this swap. StealthBimmer (Ken) Campaiar J!m I was lucky enough to find a ti with 235k for sale locally ($2000) and a S52 swap (transmission, engine harness,diff, DME etc.) with 49k (verified) in a 97 Automatic M3 for $2000. I sold most of the components from the drive train and reinvested it into the swap (more on that later). I wanted to build an aggressive street/ mild track car that I could enjoy and have no problems with vehicle inspections (including California’s smog test). I decided to covert the S52 to OBD I while retaining the OBD II headers and mid pipe, which supposedly flows better. I also wanted to use the famed M50 manifold and have the huge aftermarket support for the OBD I engine (mostly from software tuning).  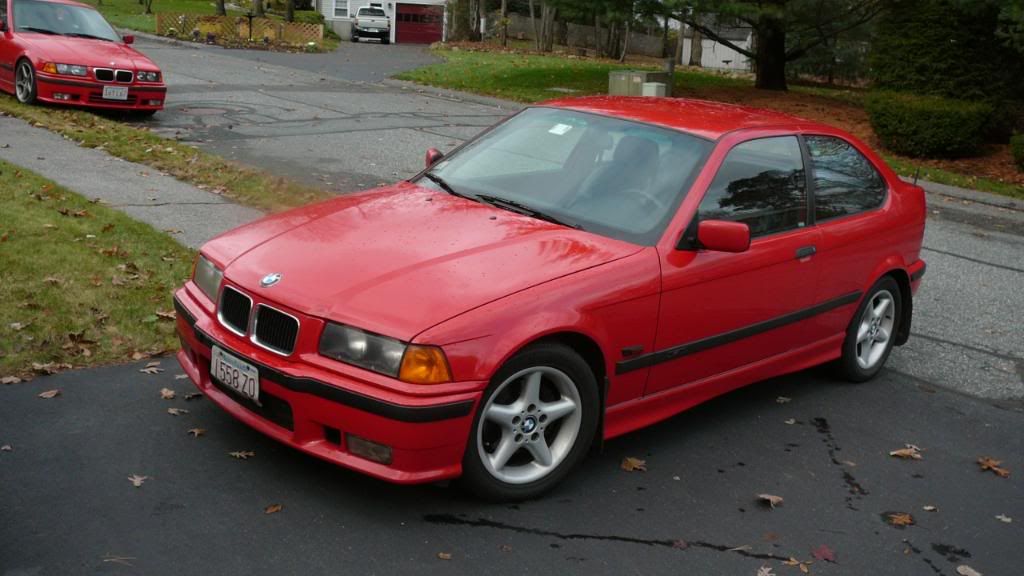 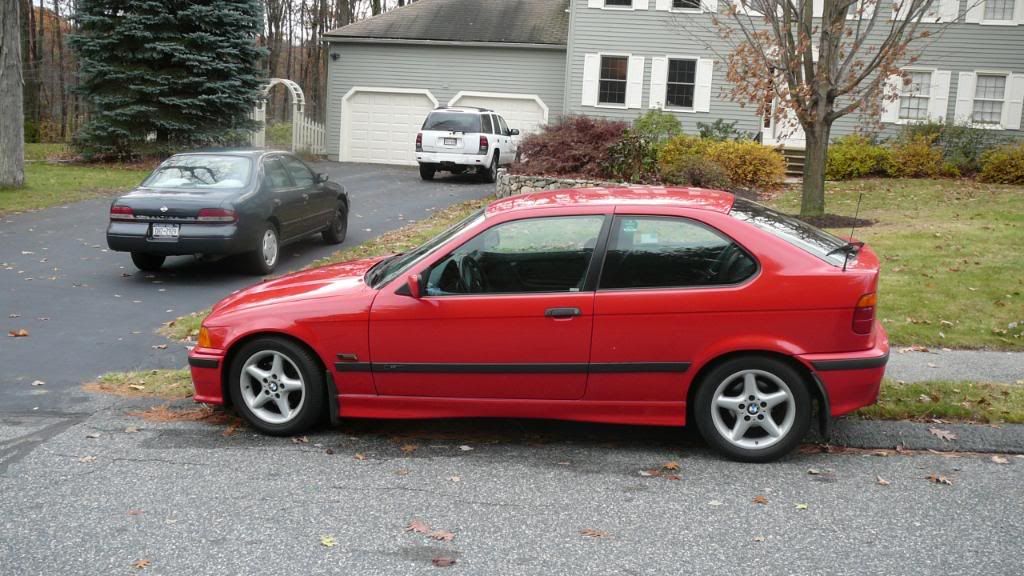 As you can see from the pics the ti was in fair condition with only minor cosmetic flaws. The biggest problem was the rusted swap bar mount that needed to be repaired. I decided to allow Turner Motorsports to repair the vehicle and while they did a good job we did have some problems. See the details here: http://318ti.org/forum/showthread.php?t=19766 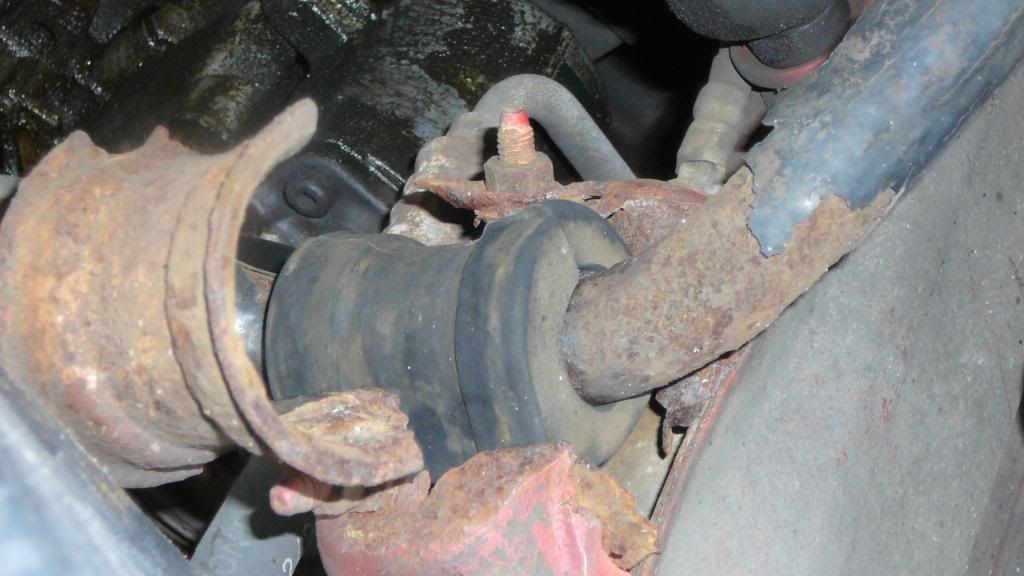 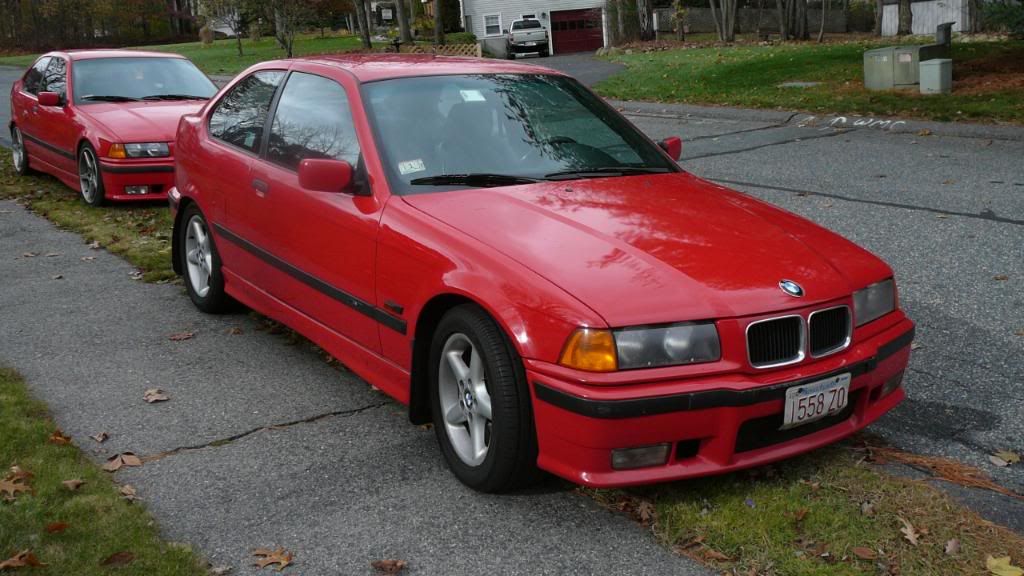 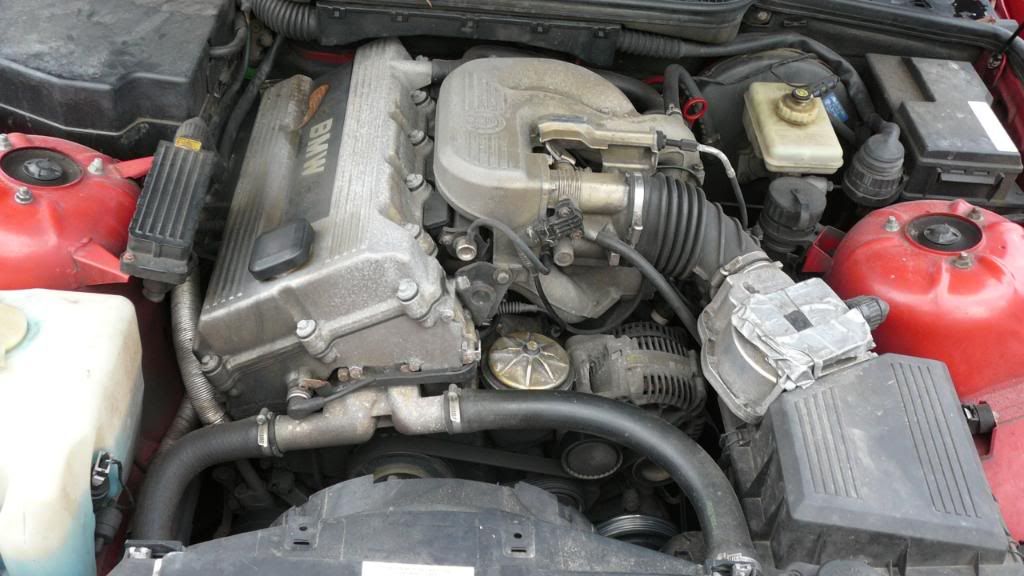
Last edited by dahamler; 08-01-2011 at 12:56 PM. |  |  | | 01-29-2008, 08:26 PM | #2 | | Senior Member Join Date: Aug 2007 Location: Monterey, CA Posts: 770 |
| | | | | 01-30-2008, 02:49 AM | #3 | | Senior Member Join Date: Aug 2007 Location: Monterey, CA Posts: 770 |
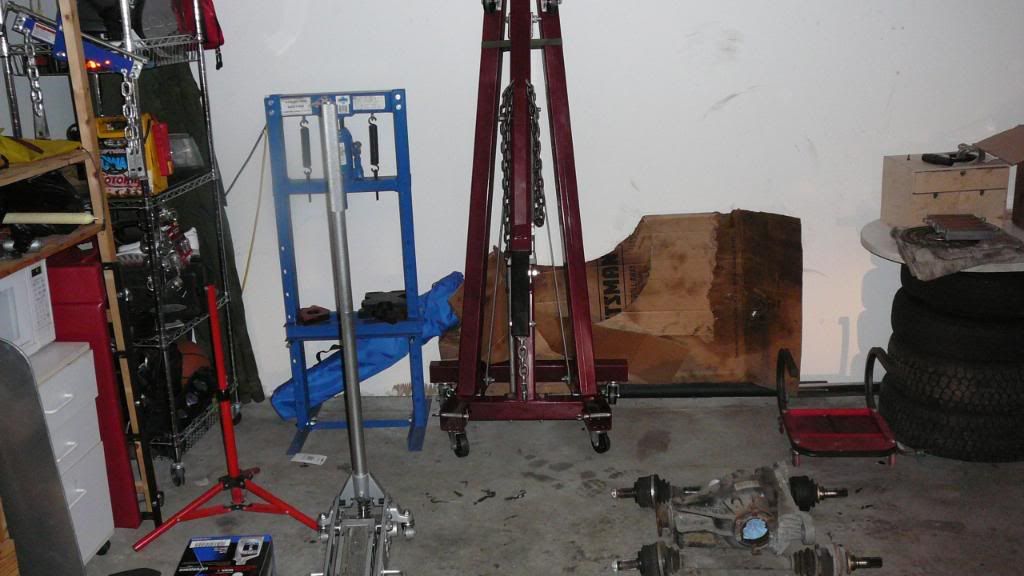
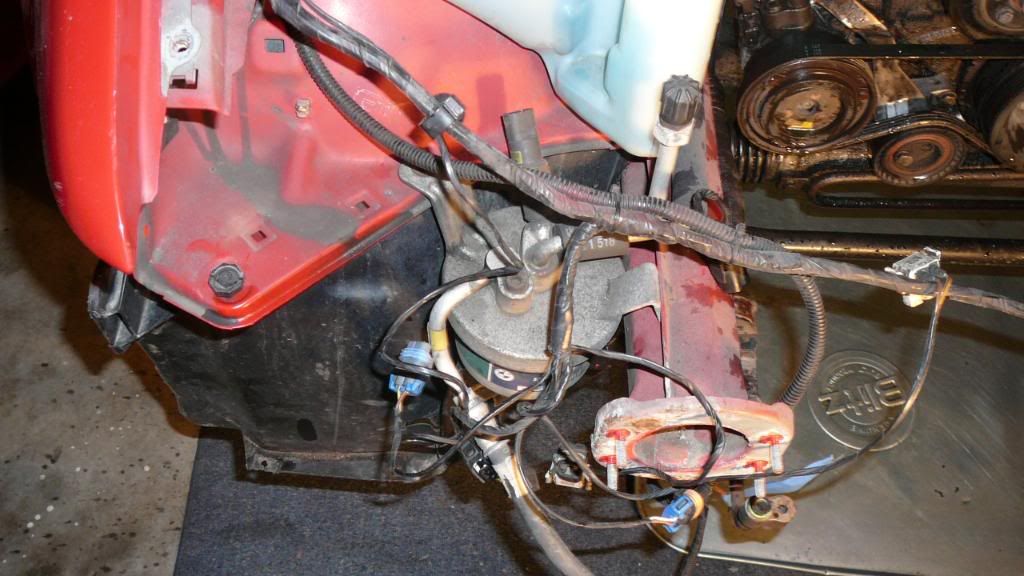
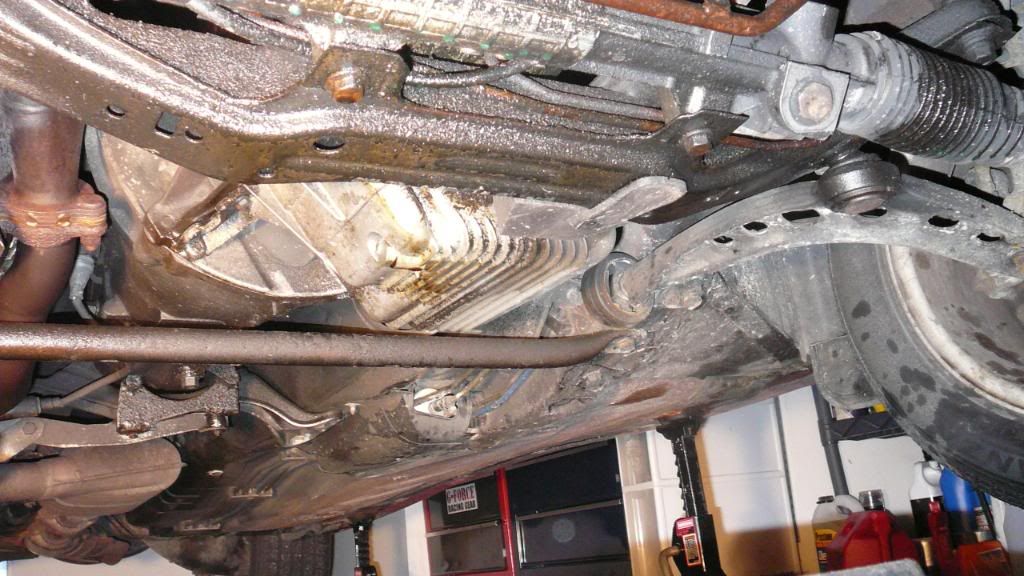
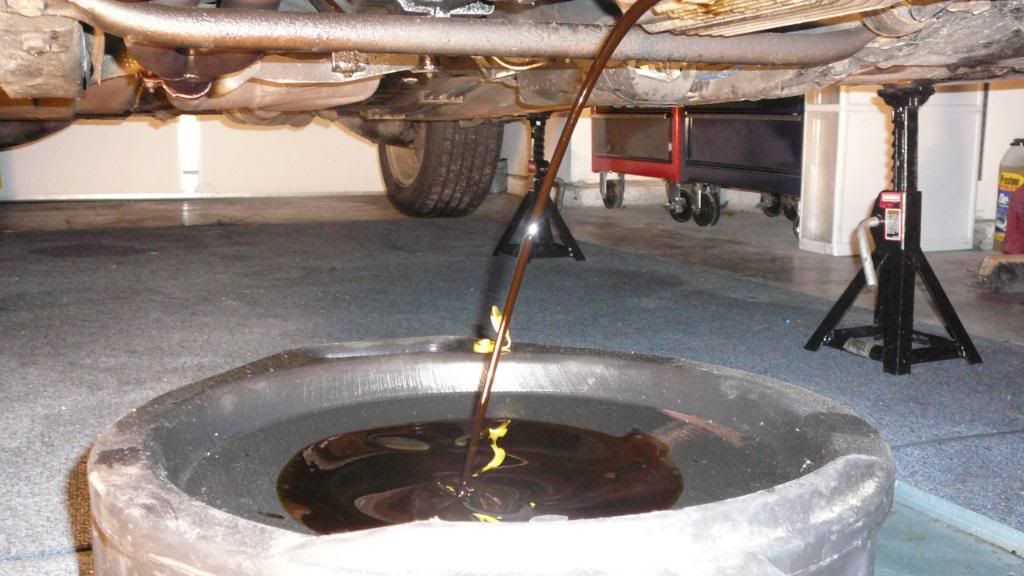
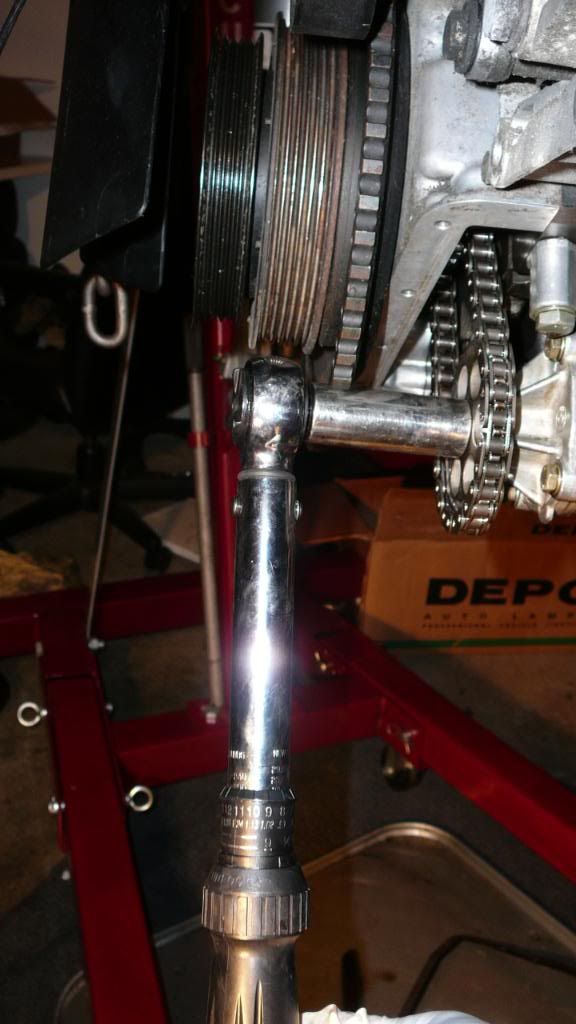
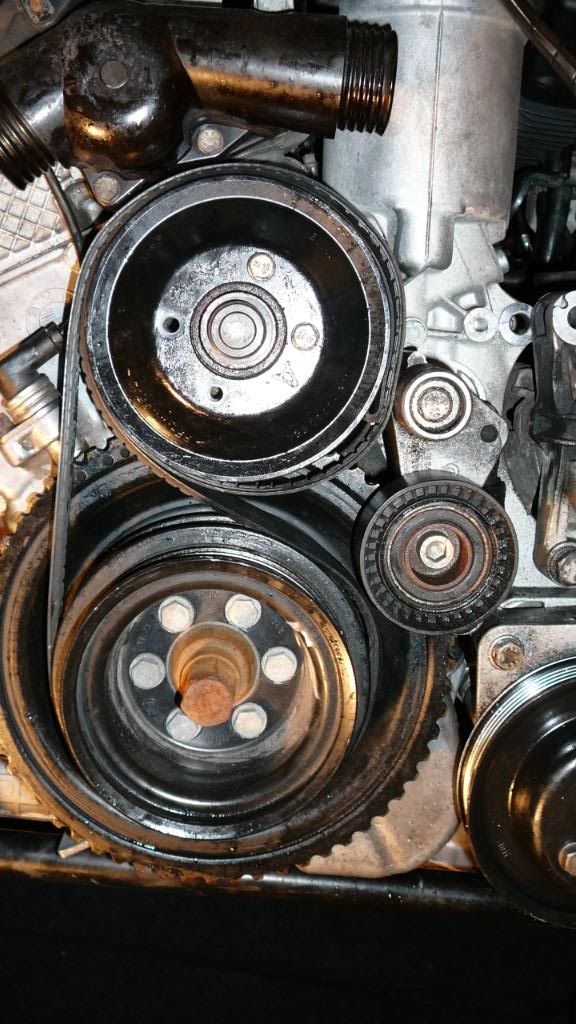
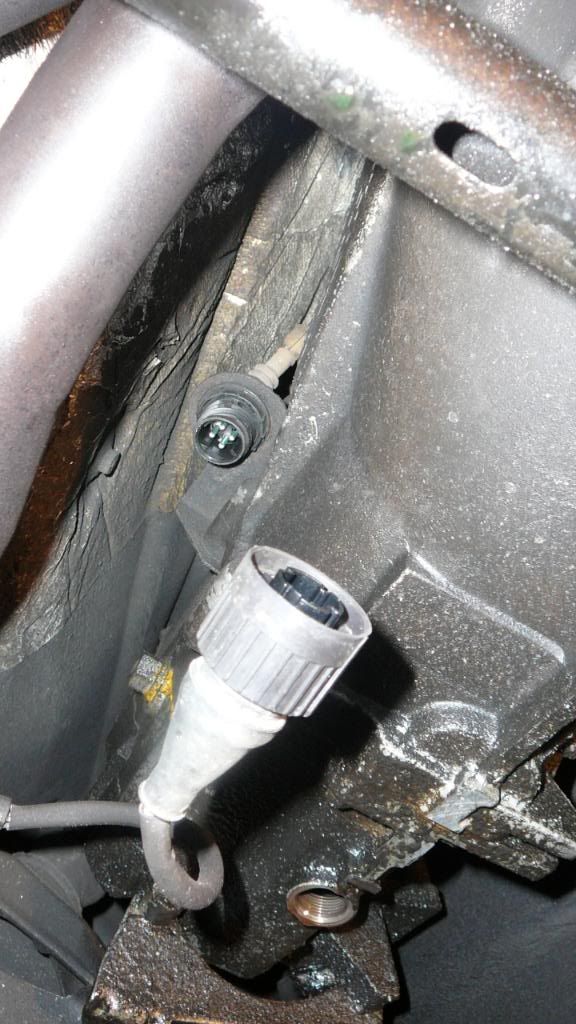
Removal: Safely jack the vehicle up enough that you can slide underneath the car. Ideally you want enough room to roll over comfortably. Make sure that the jack stands that you use can safely support the vehicle! I started by disconnecting the battery and removing the front bumper and headlight support. I did this because I wanted to remove the engine, transmission and shifter parts as one unit. I bagged and tagged all the parts for each component removed. I also took pics of the positions of the stock components to help me with the installation of the new engine (power steering lines etc.) Once the front clip was removed I began to disconnect all of the wiring and electrical connectors. It is much easier to just leave the harness connected to the engine and disconnect everything from the chassis. I removed the throttle cable and the gas cap to relieve some of the fuel pressure. I also removed all of the A/C components and will post them in the for sale section later. Draining the engine oil and transmission fluid was next on the list. I also drained the radiator (I was lucky to have that spill tray) and loosened the power steering line to drain the system. 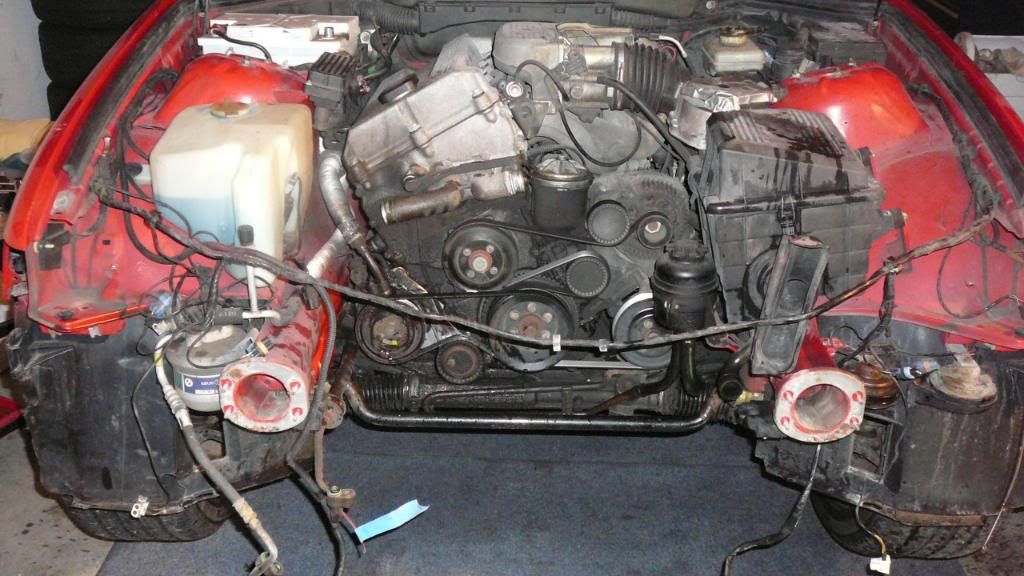 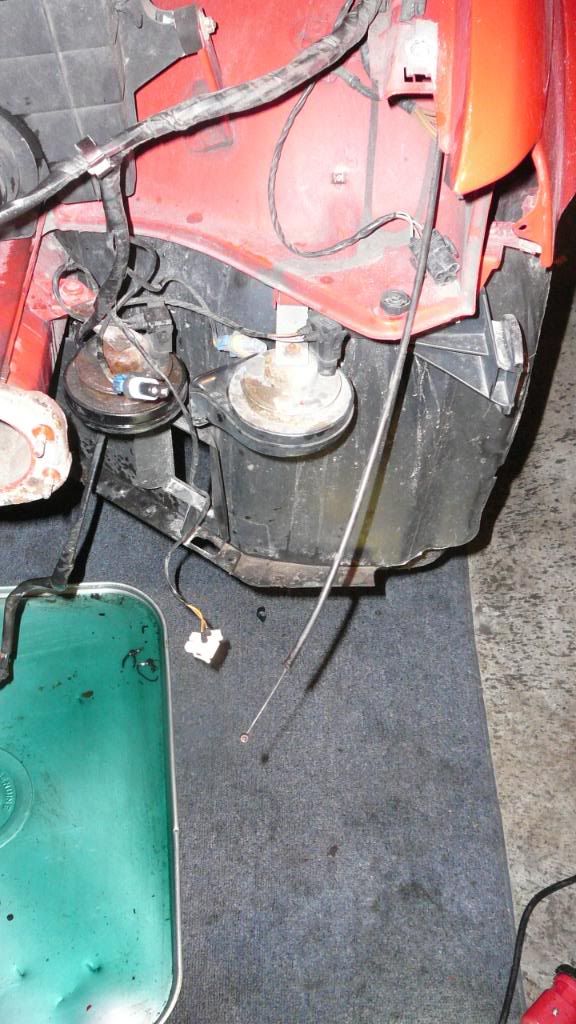 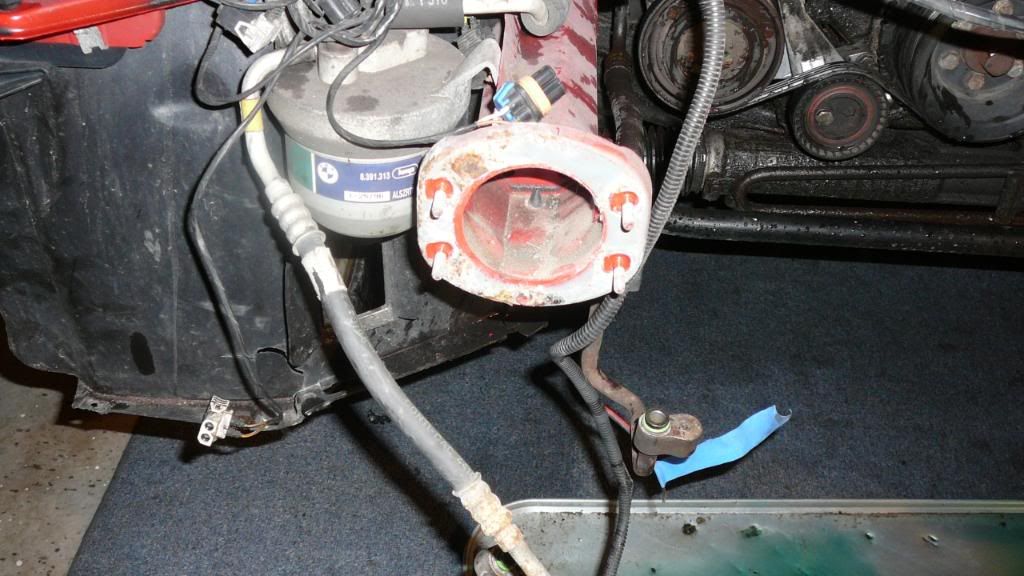 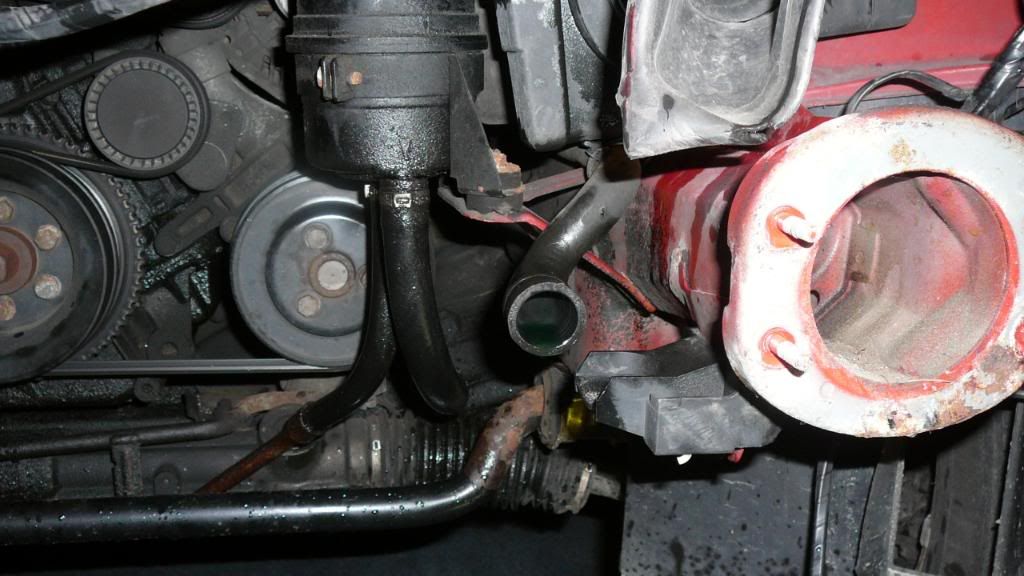 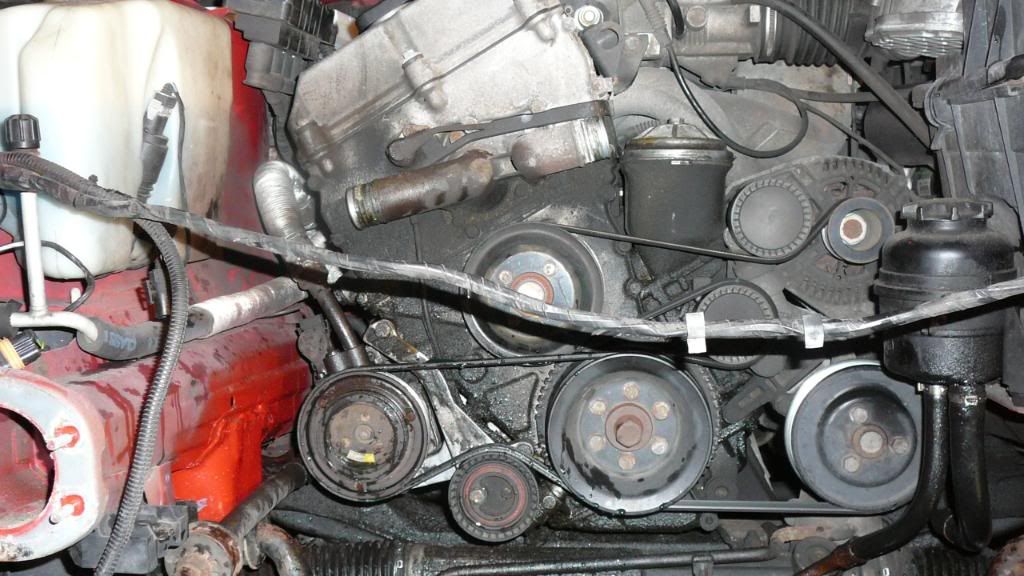 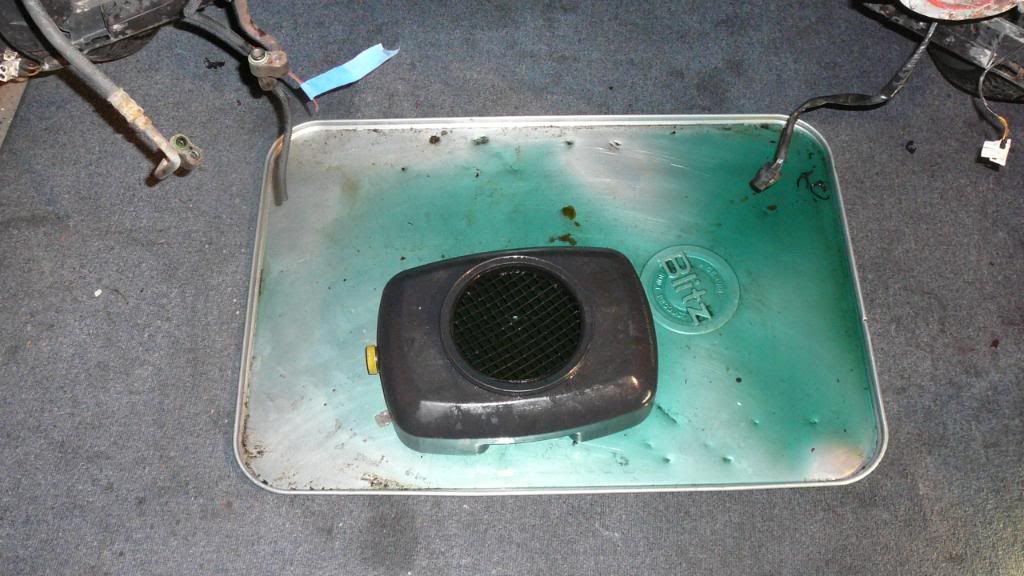
Last edited by dahamler; 08-01-2011 at 01:00 PM. | | | | | 01-30-2008, 02:50 AM | #4 | | Senior Member Join Date: Aug 2007 Location: Monterey, CA Posts: 770 |
Last edited by dahamler; 08-01-2011 at 01:01 PM. | | | | | 01-30-2008, 02:51 AM | #5 | | Senior Member Join Date: Aug 2007 Location: Monterey, CA Posts: 770 |
Last edited by dahamler; 08-01-2011 at 01:02 PM. | | | | | 01-30-2008, 02:52 AM | #6 | | Senior Member Join Date: Aug 2007 Location: Monterey, CA Posts: 770 |
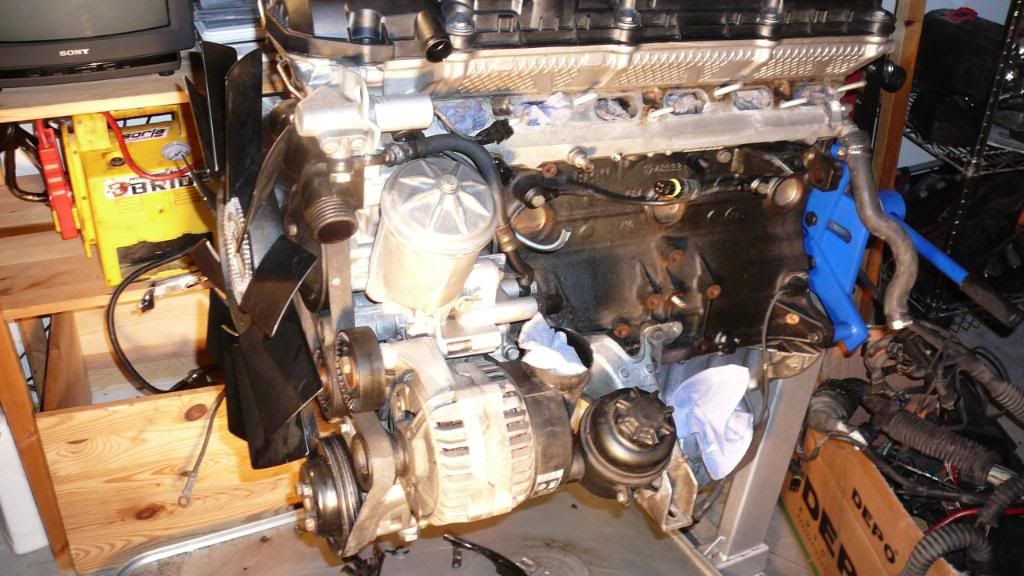
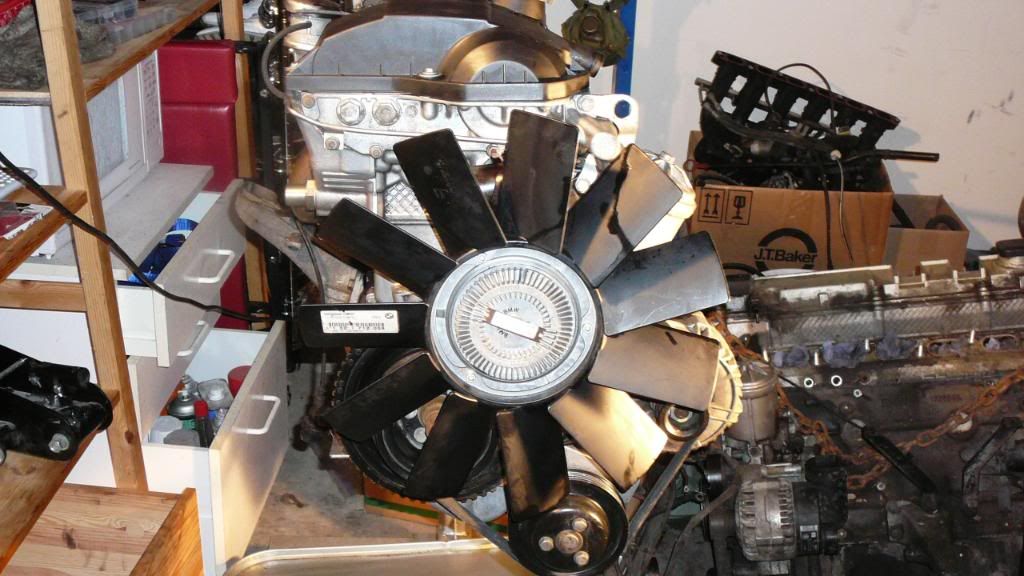
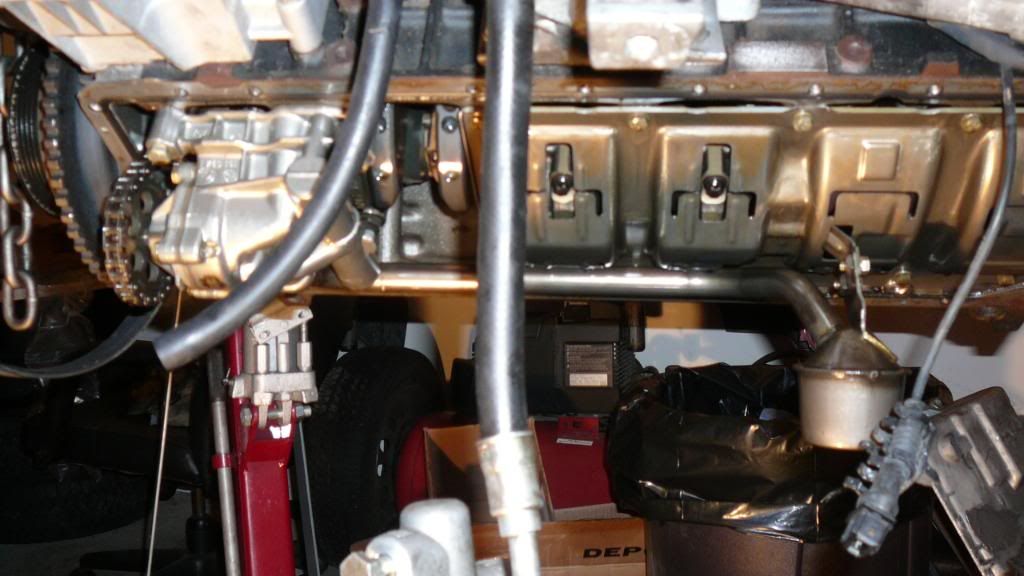
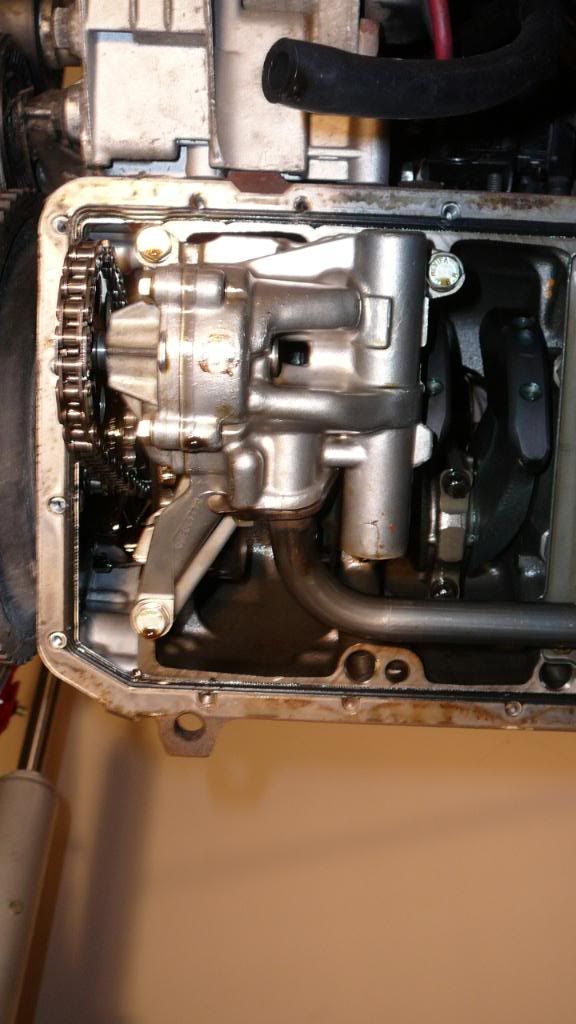
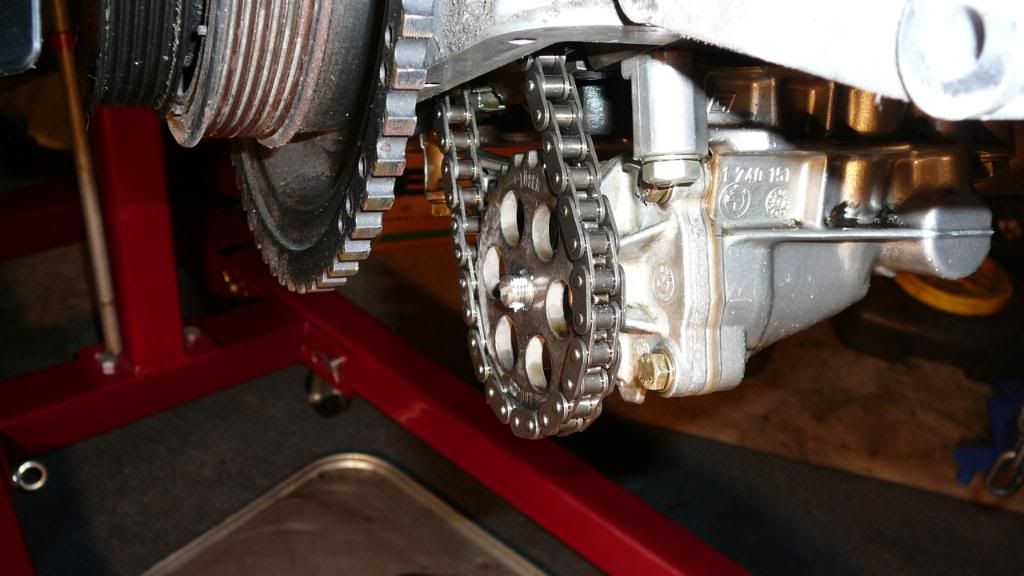
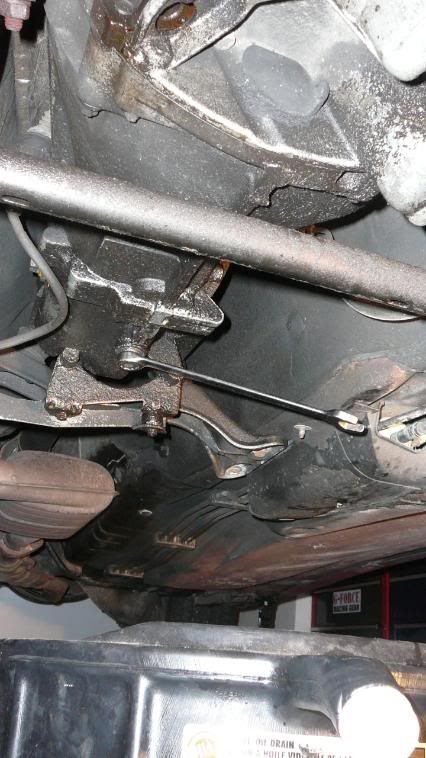
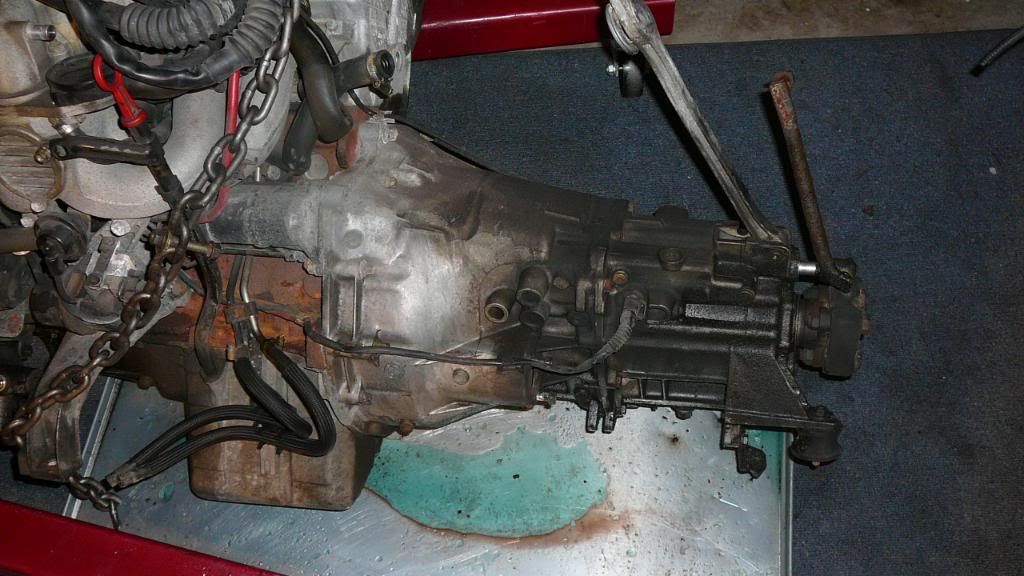
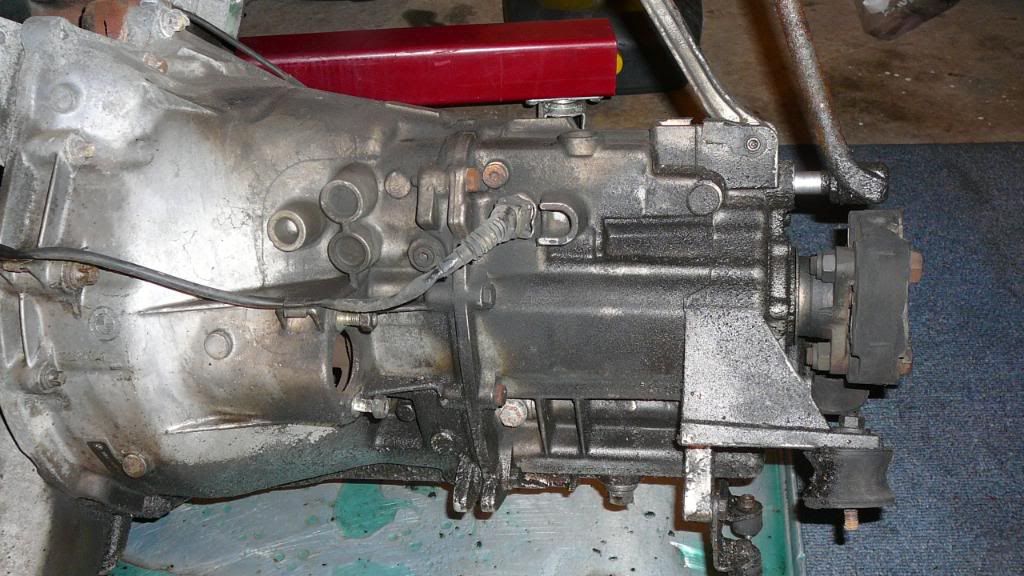
Removal IV 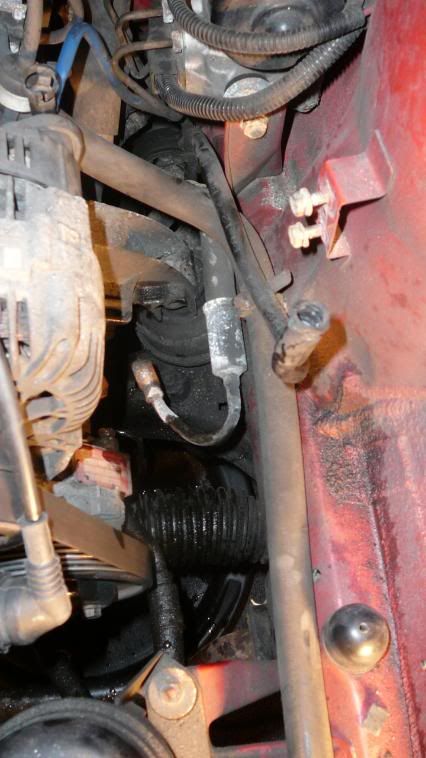 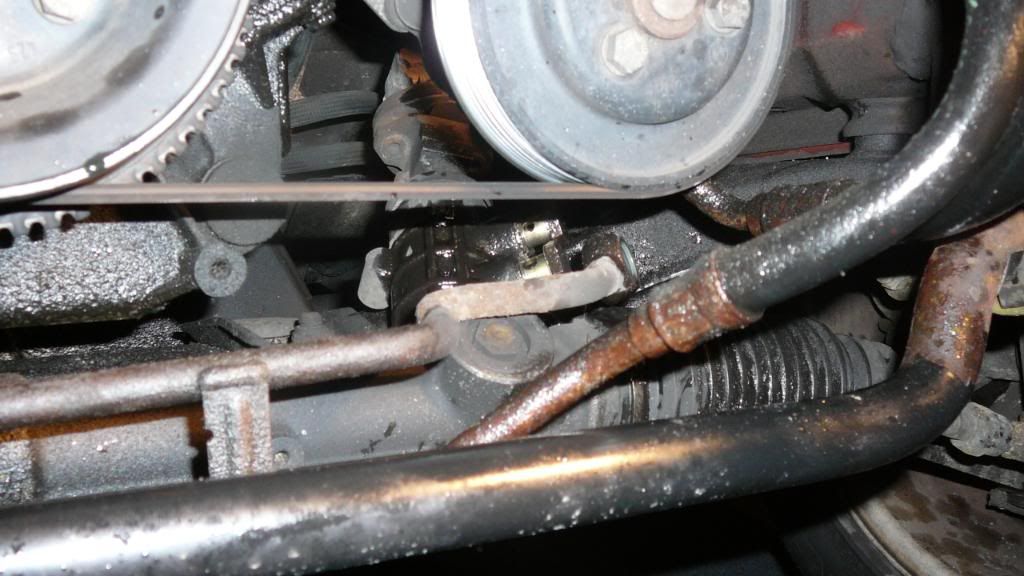 During the rush of the swap I forgot to take pictures of the actual engine being removed. But this is only a rough guide detailing my experience. Unbolt the driveshaft from the transmission and remove the shifter from inside the car. Disconnect and remove the exhaust and the transmission mounts. There should be two nuts (one each side)securing the engine mounts to the car. Remove the radiator and the engine should be ready to be lifted out. I only needed to raise the engine and transmission slightly and I pulled the entire unit out as one.
Last edited by dahamler; 08-01-2011 at 01:03 PM. | | | | | 01-30-2008, 02:54 AM | #7 | | Senior Member Join Date: Aug 2007 Location: Monterey, CA Posts: 770 |
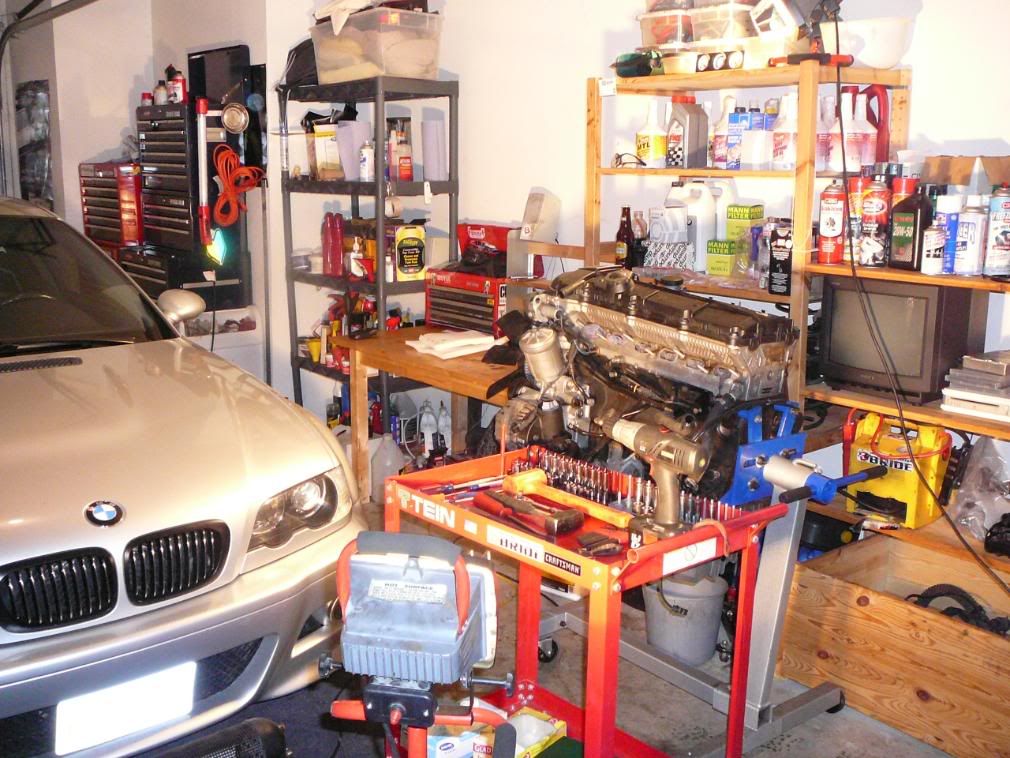
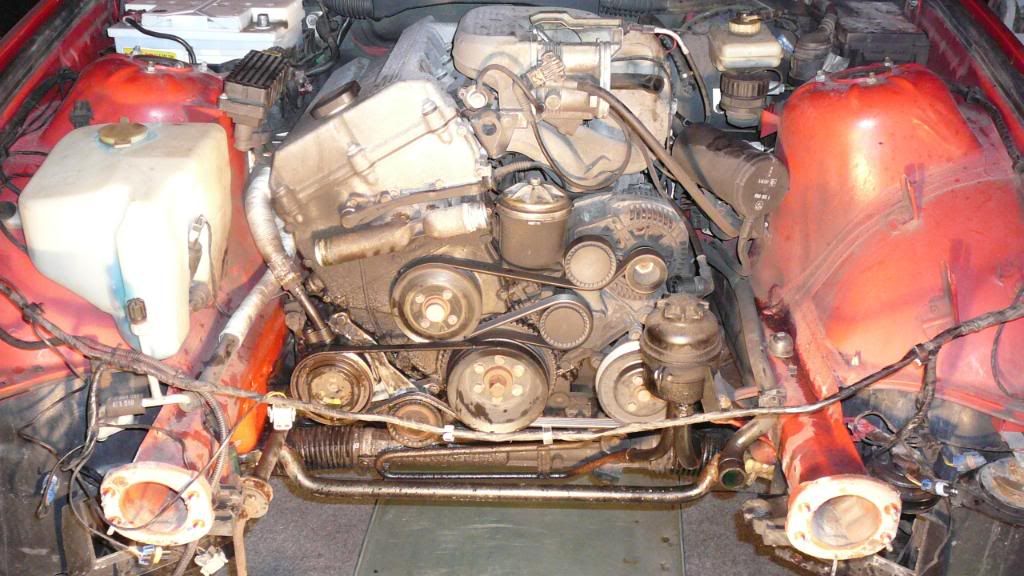
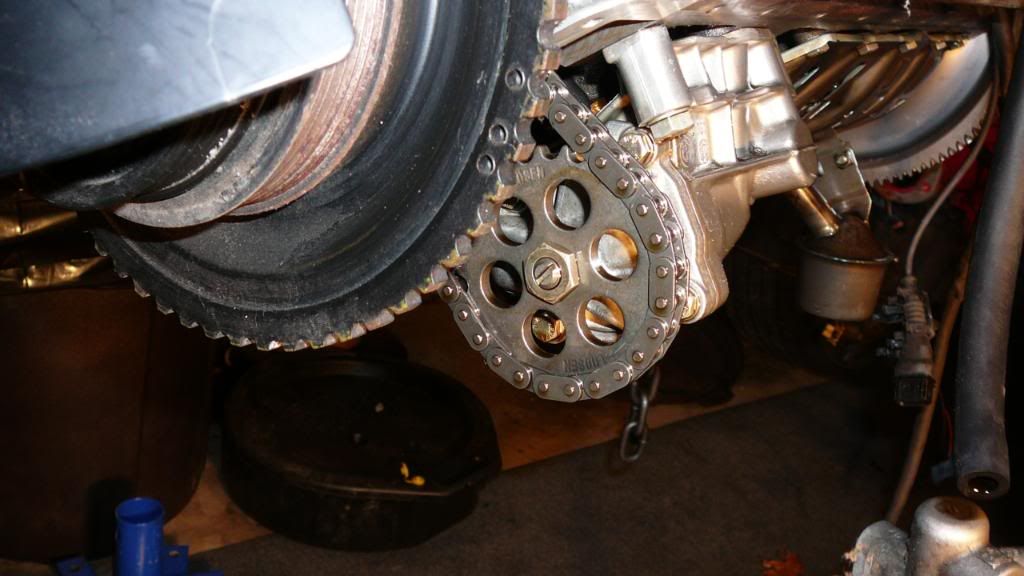
Engine removal was straight forward after disconnecting the wiring harness from the chassis. The motor mounts, transmission mounts are easily accessible and so is the driveshaft connection and the shift linkage. I removed the engine, transmission and shift linkage as one unit and all that remained was a empty engine bay. I decided to clean the engine bay the best I could because I believe in attention to detail and it also allows me to spot any leaks that the car may develop. 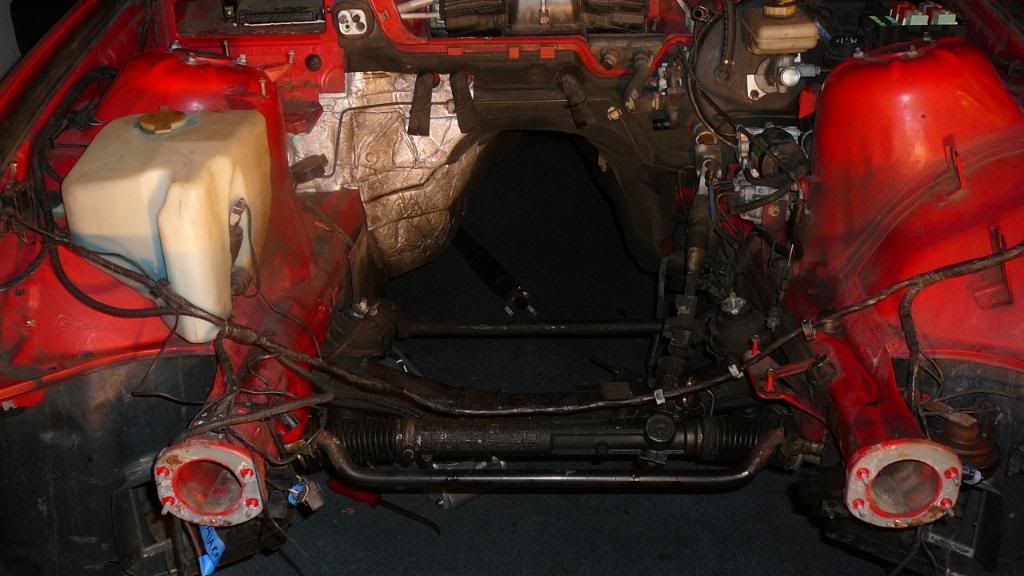 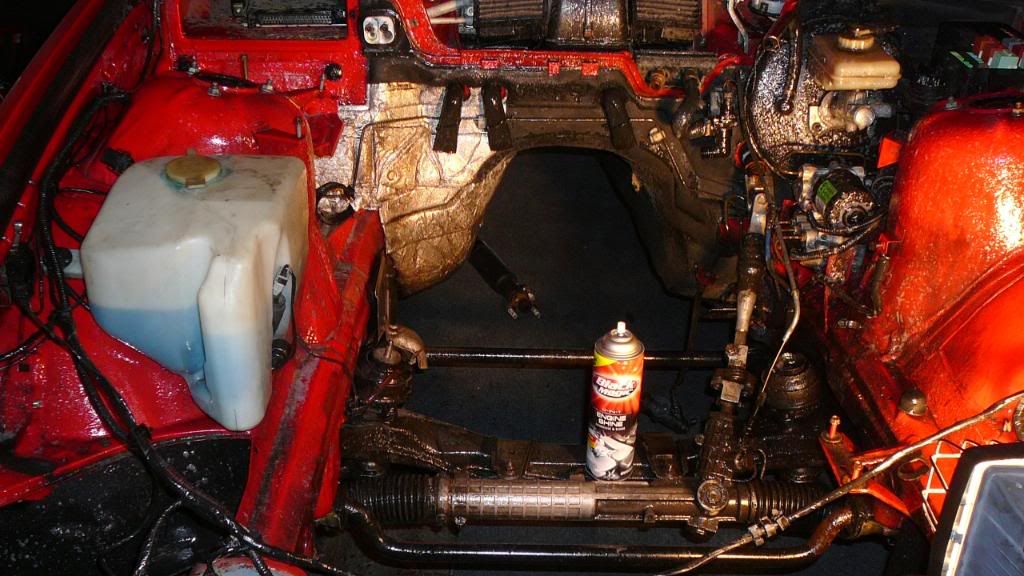 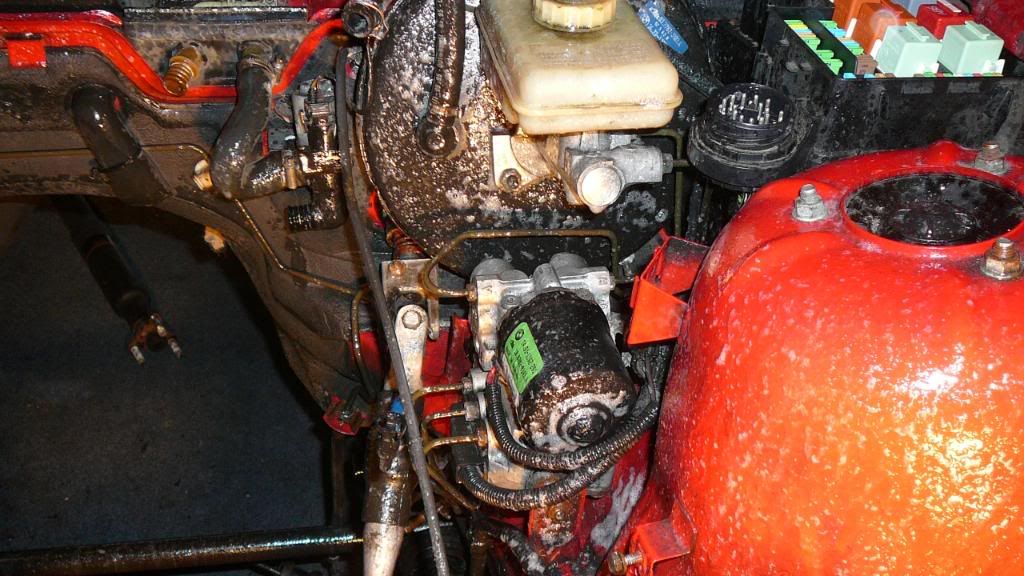   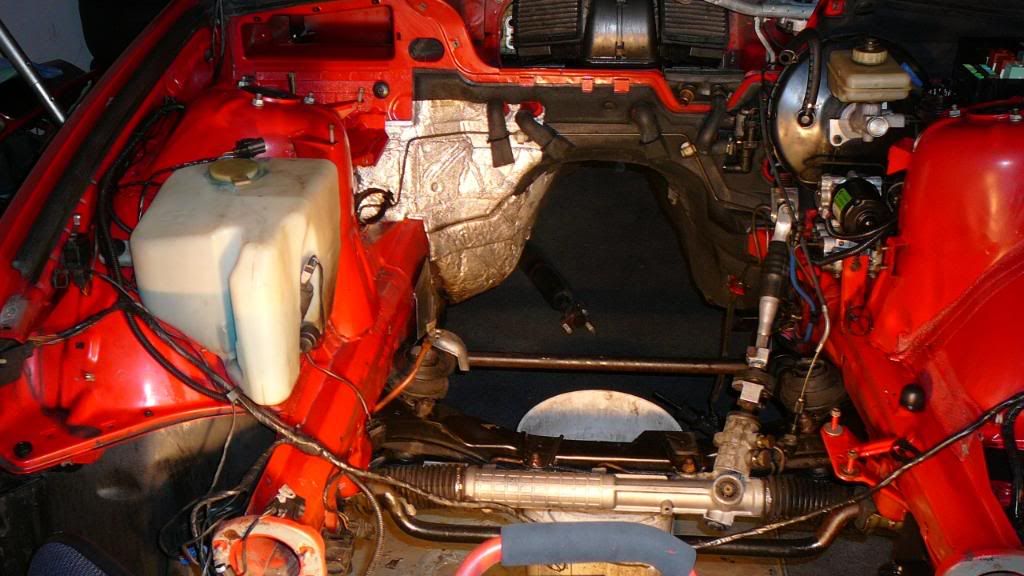 Looks much better now!
Last edited by dahamler; 08-01-2011 at 01:20 PM. | | | | | 01-30-2008, 02:56 AM | #8 | | Senior Member Join Date: Aug 2007 Location: Monterey, CA Posts: 770 |
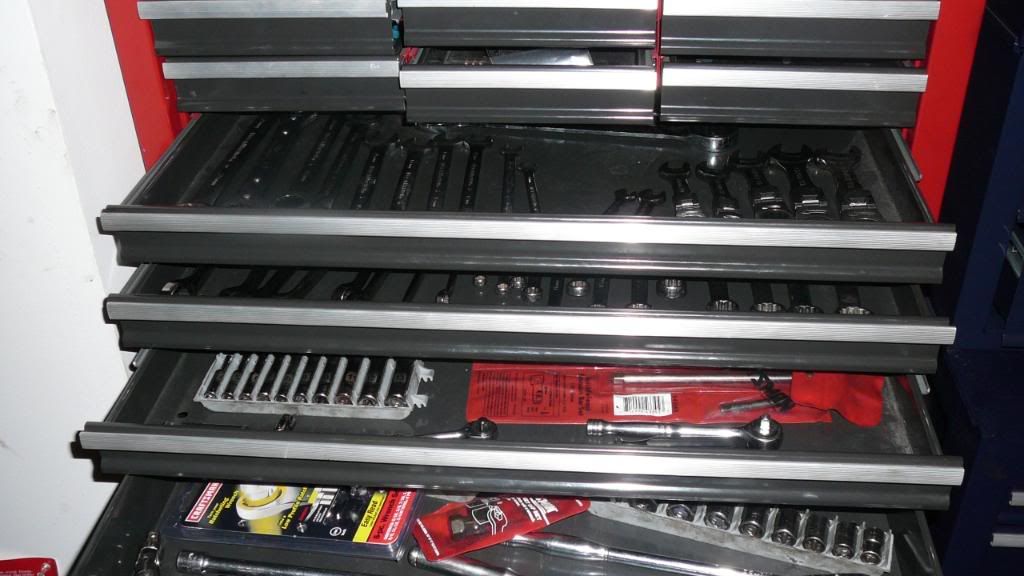
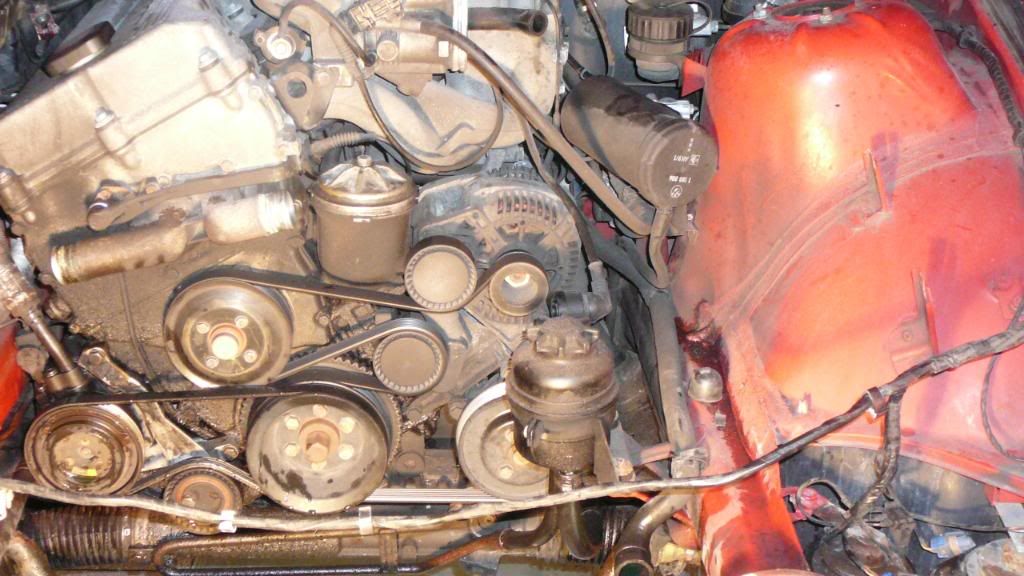
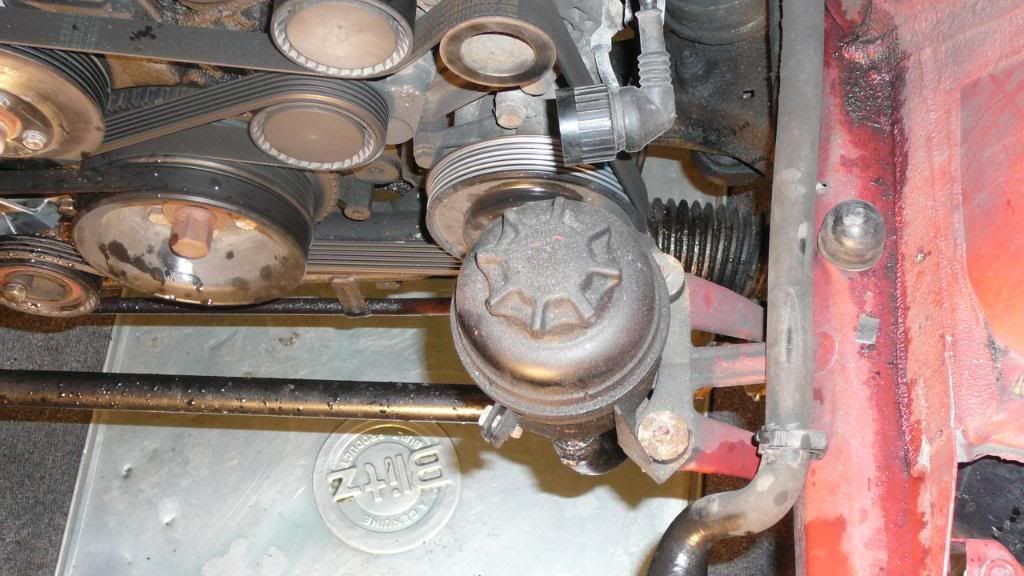
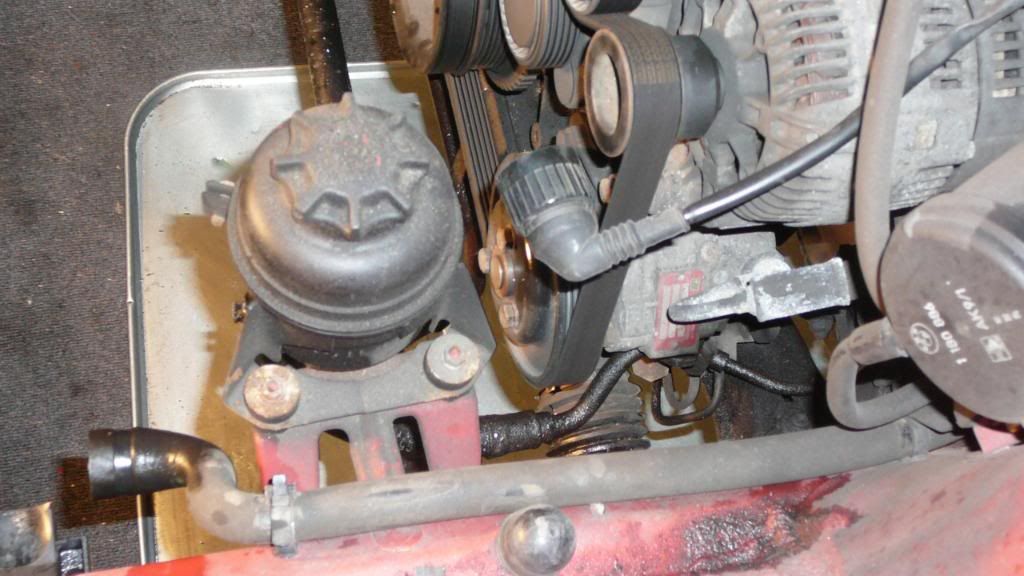
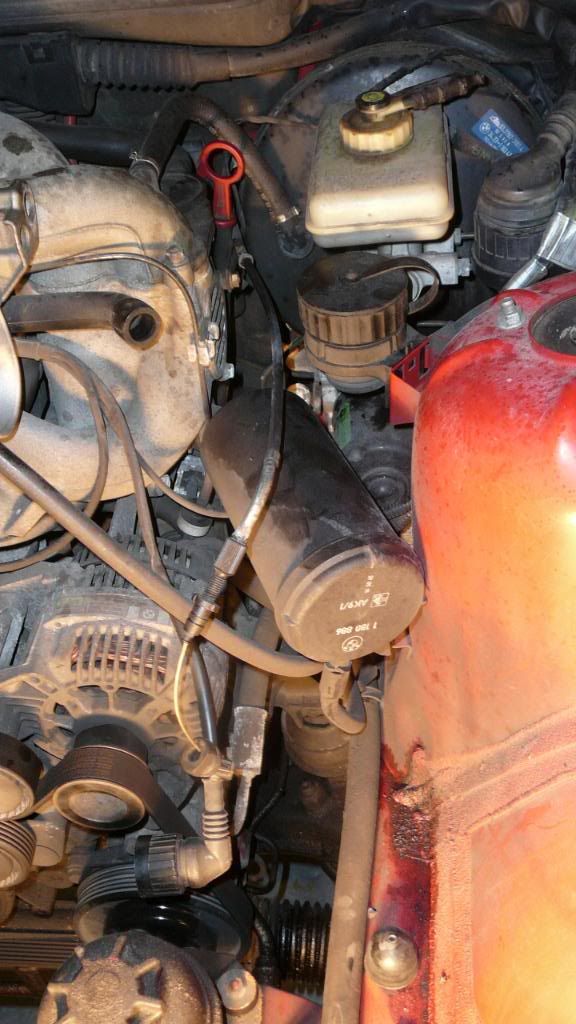
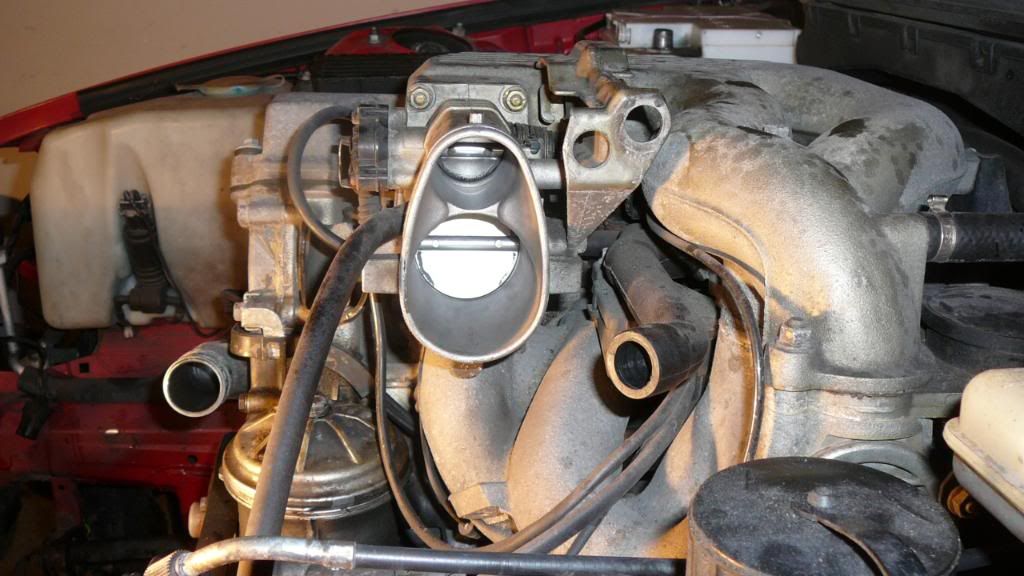
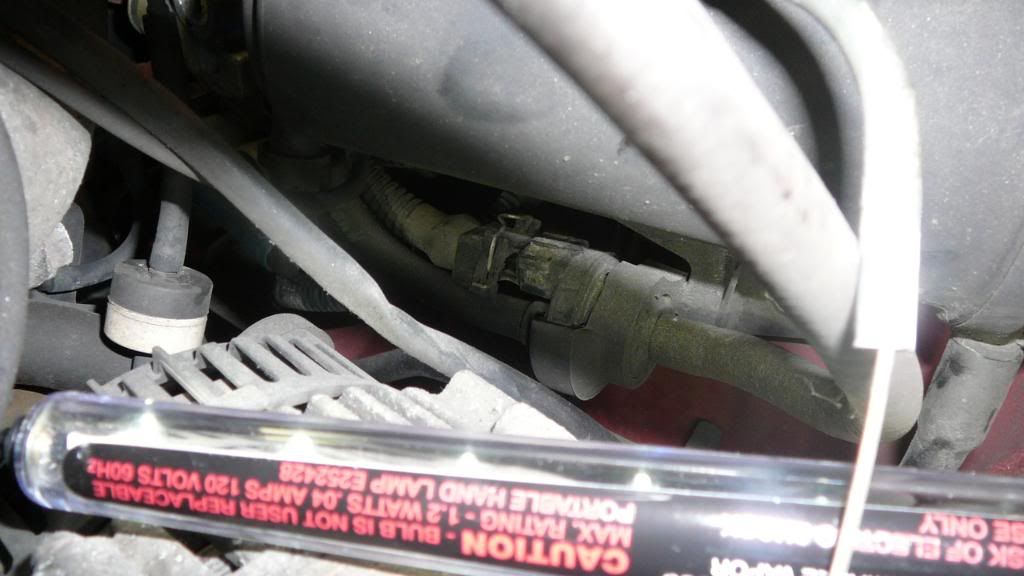
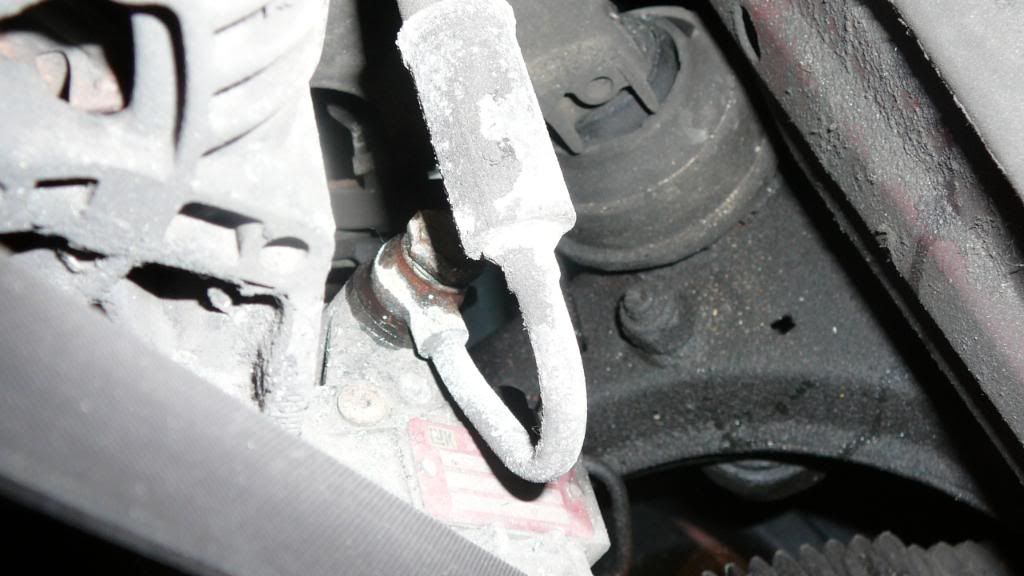
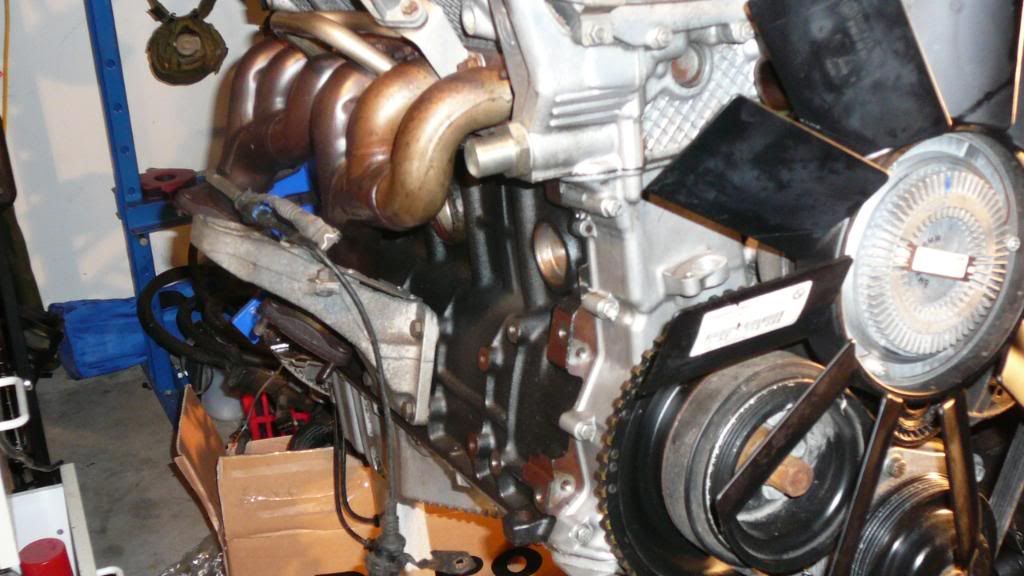
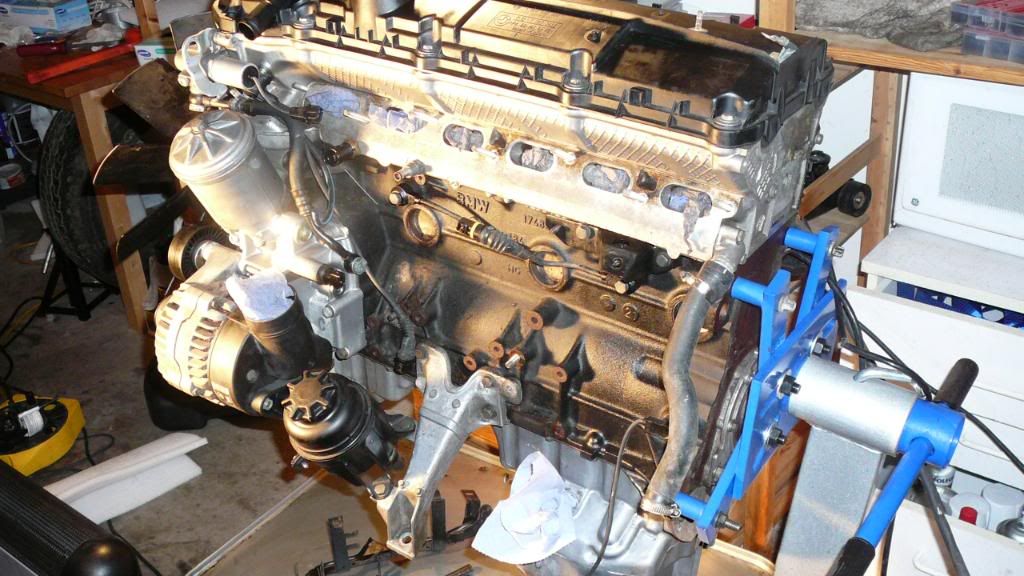
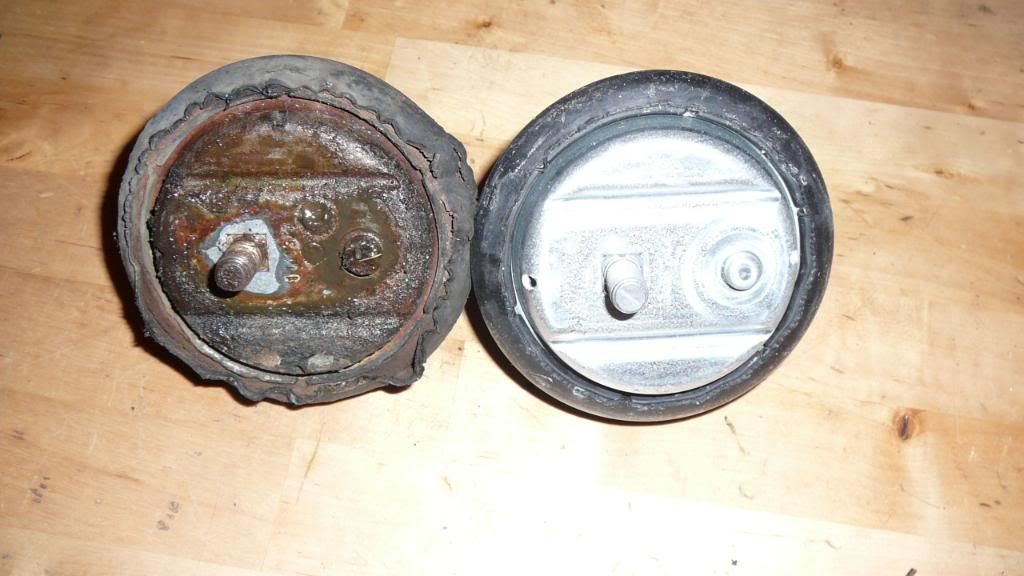
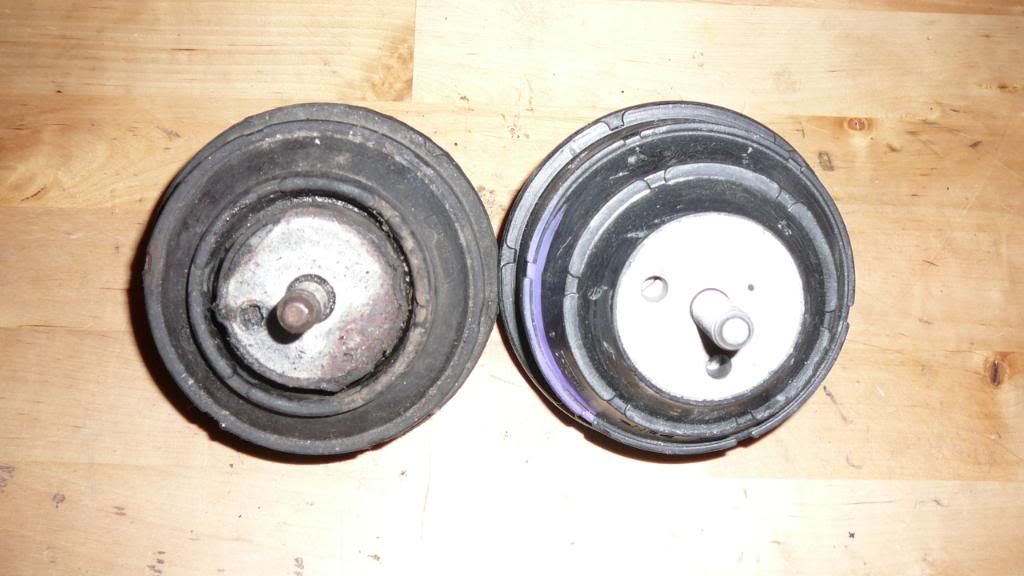
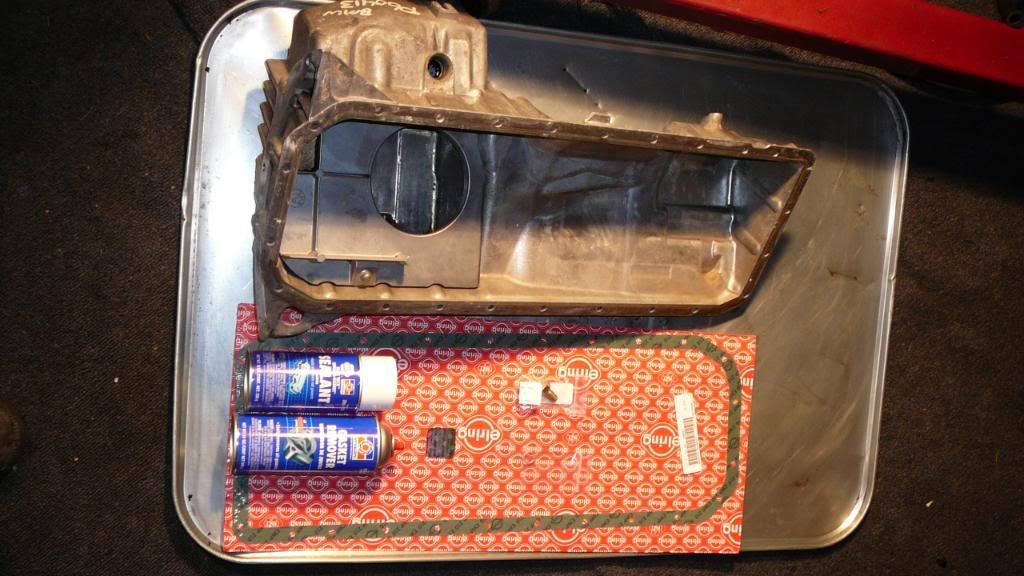
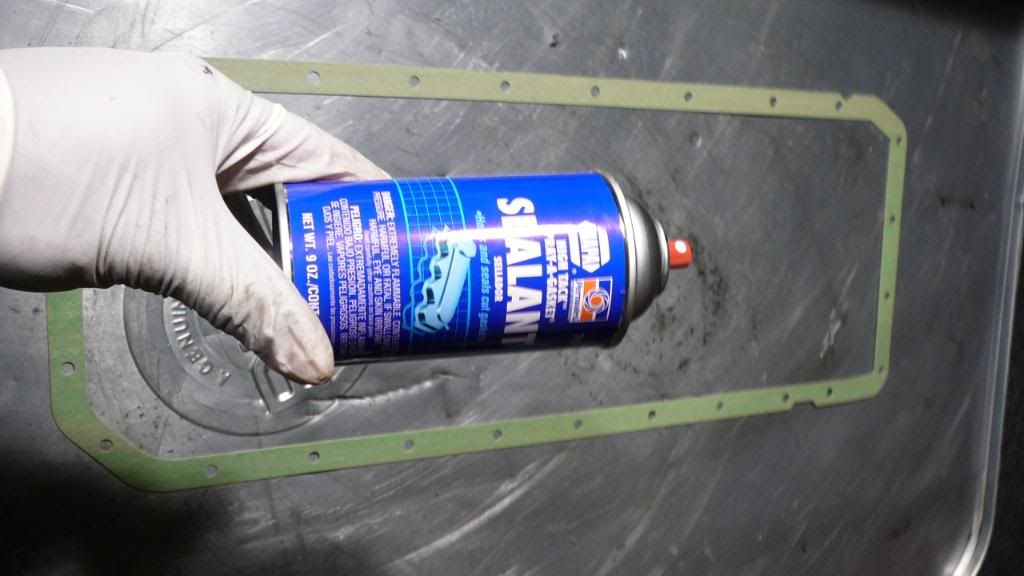
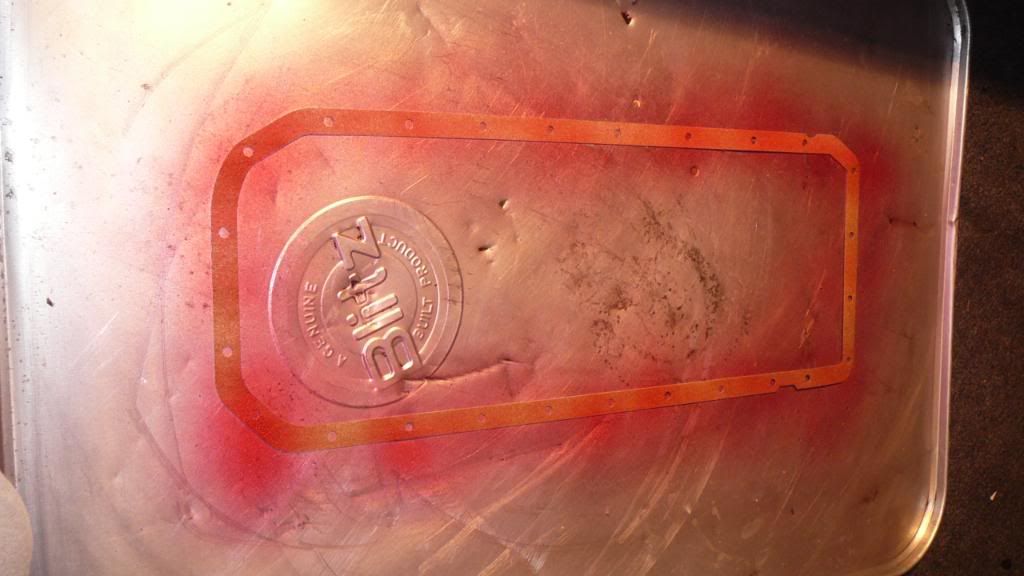
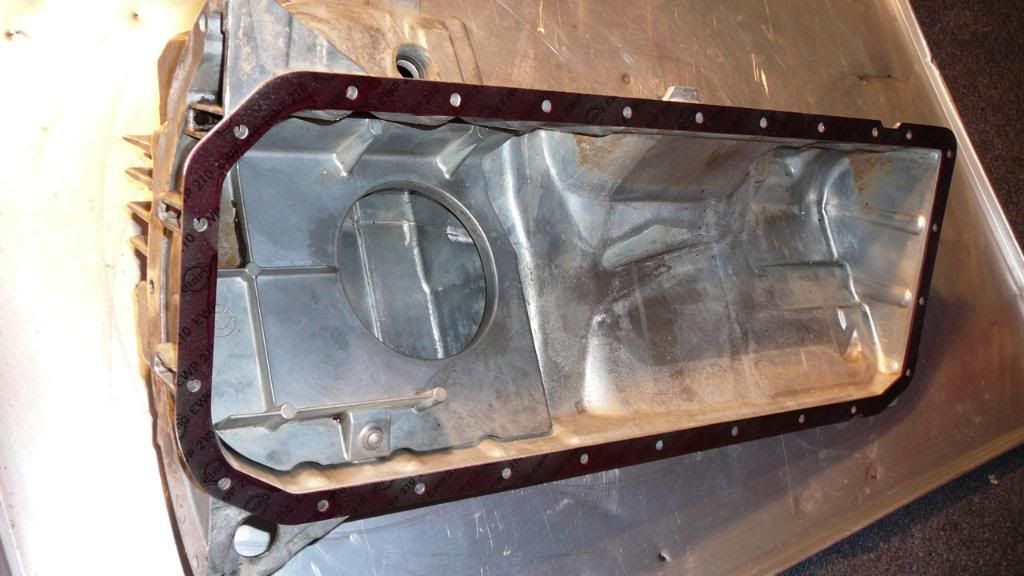
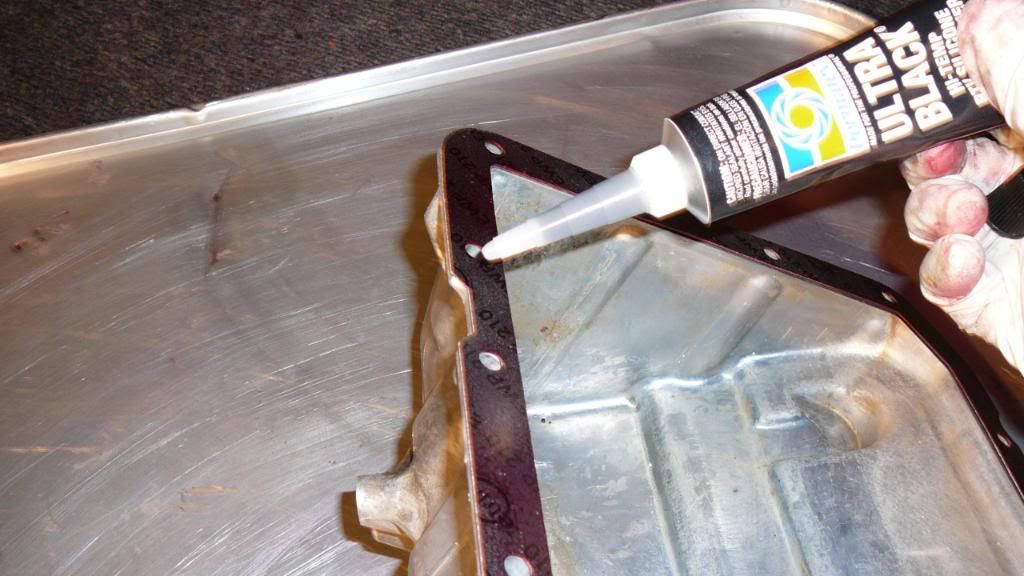
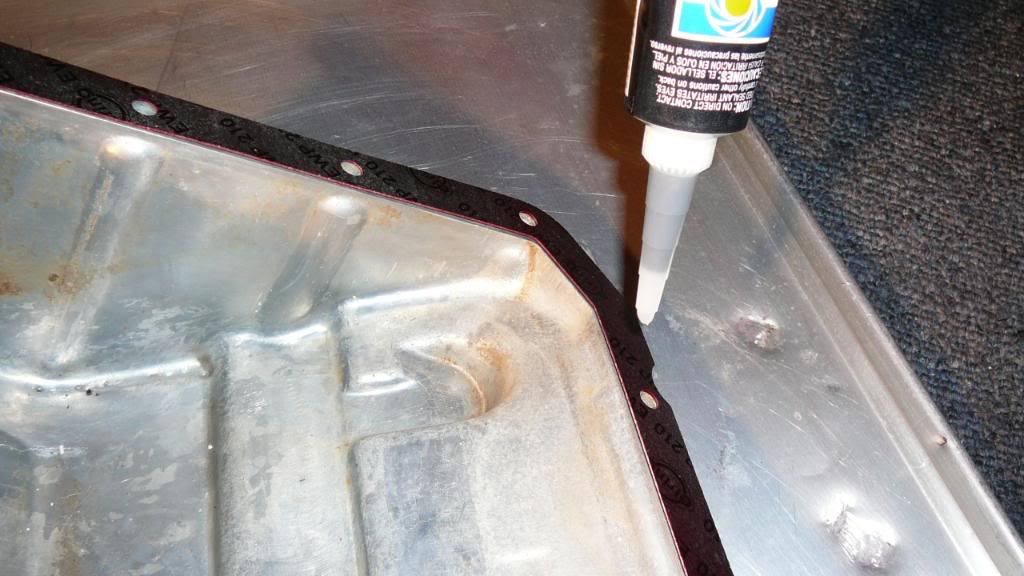
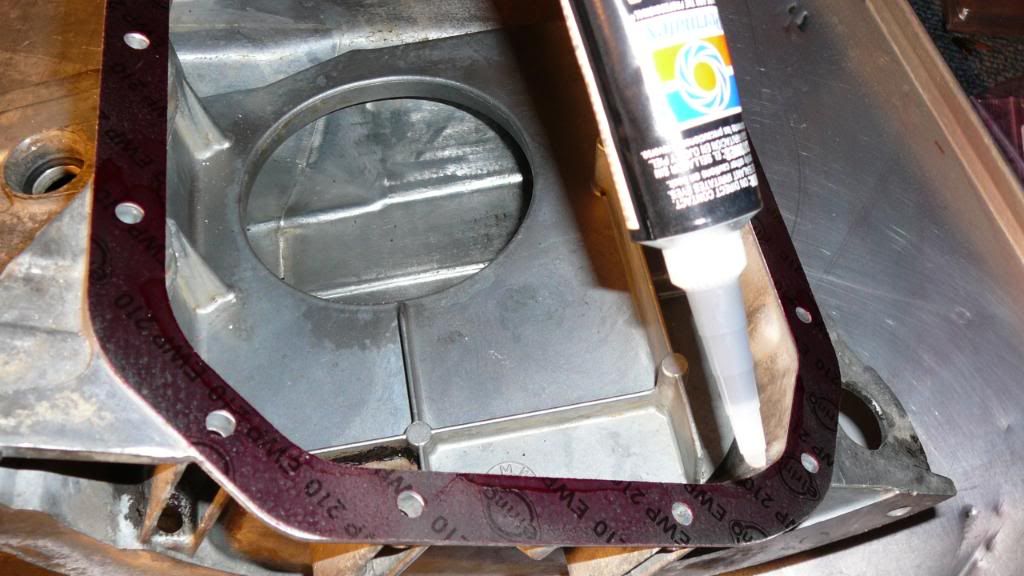
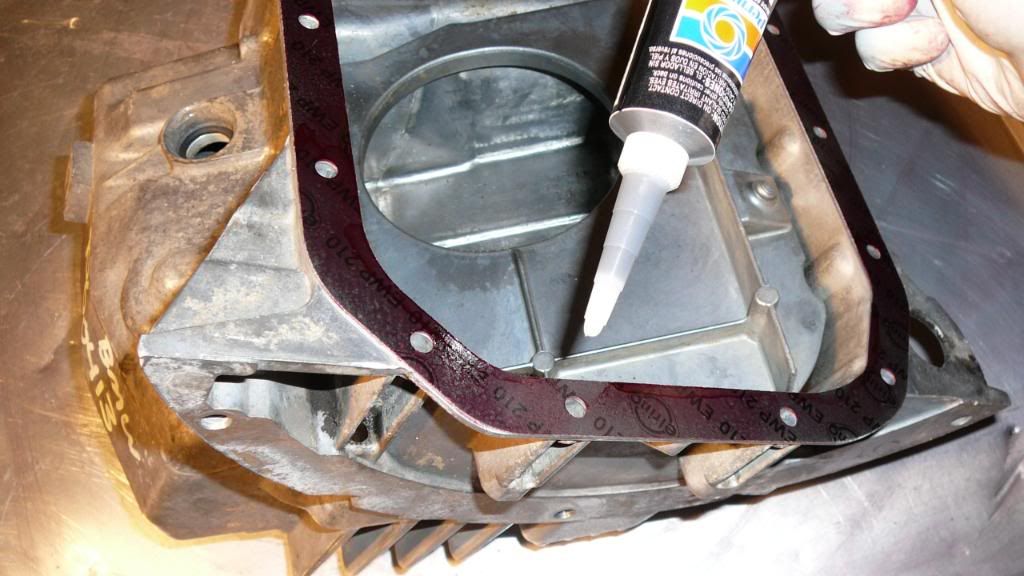
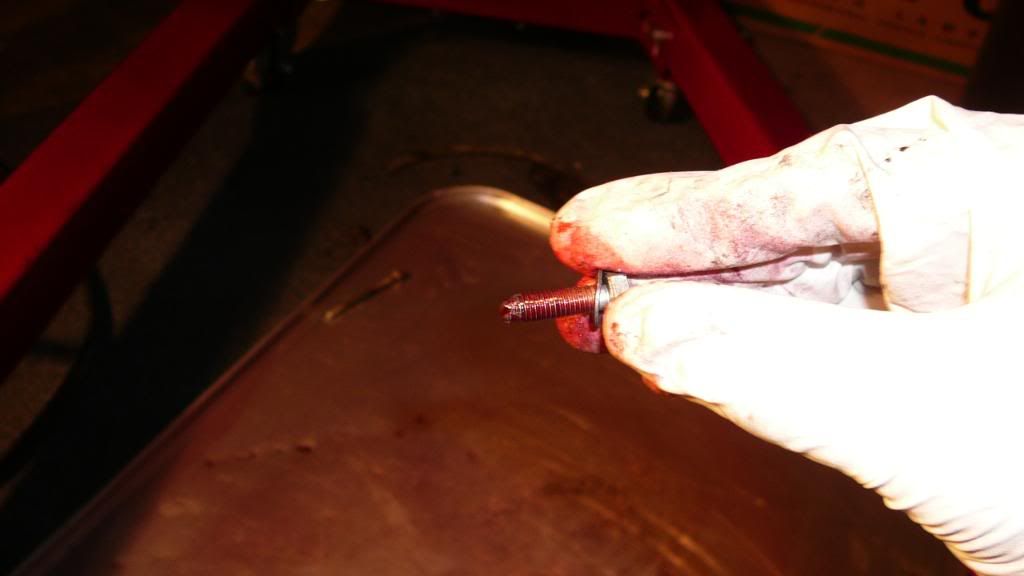
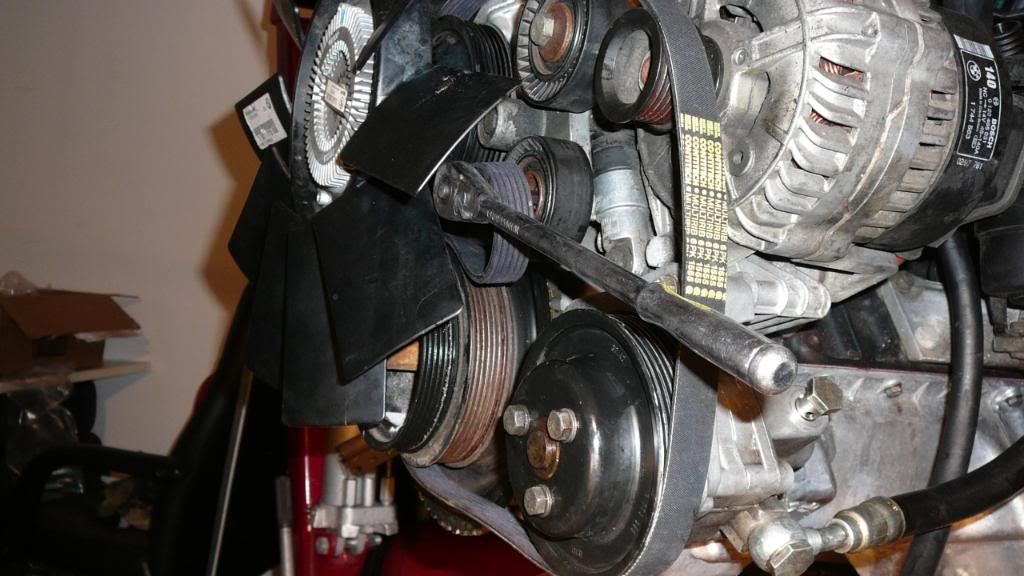
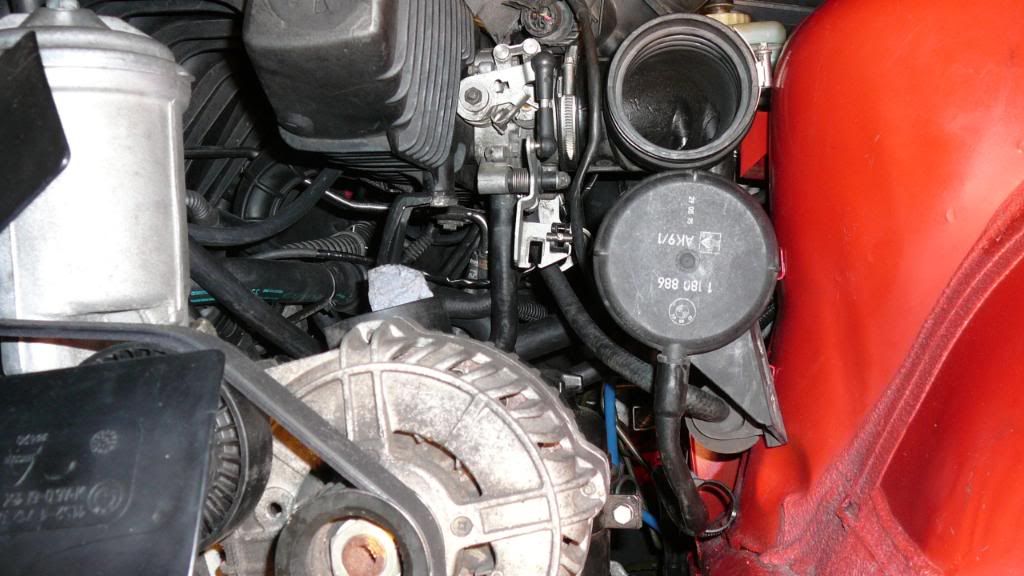
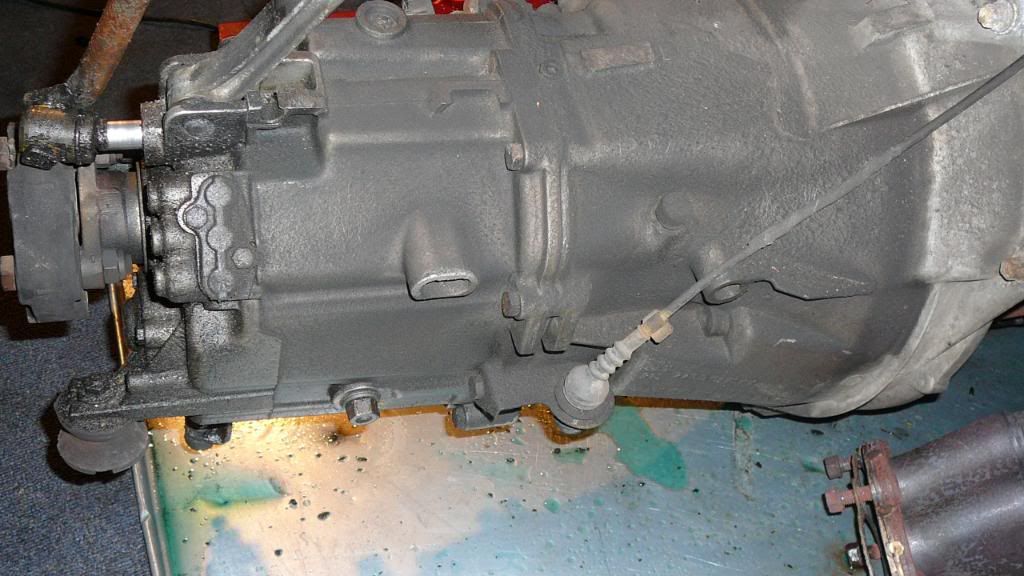
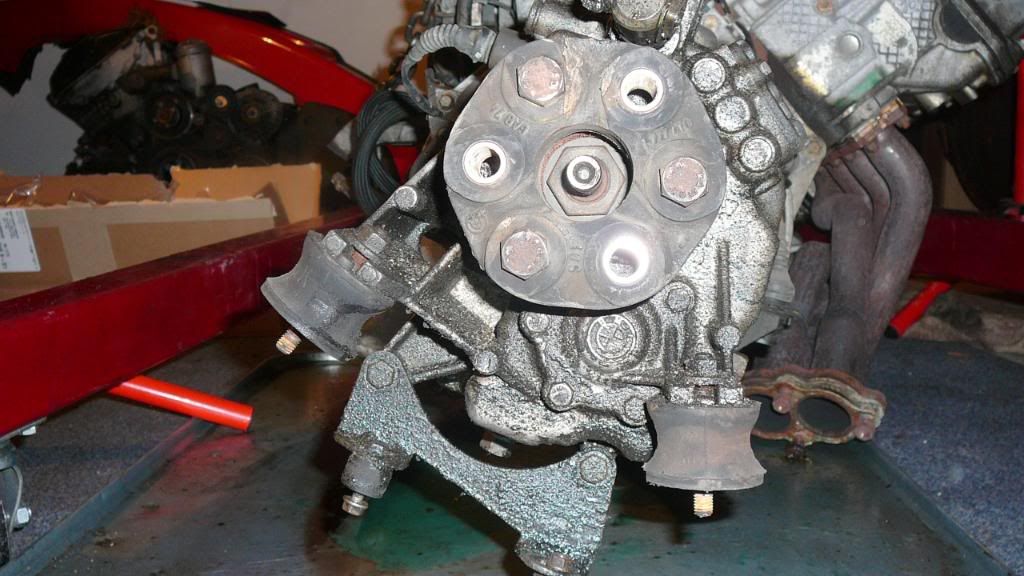
New Parts This was by far the most time consuming step of the entire swap. The decision to covert the S52 to OBDI evolved sourcing a few custom parts from Turner Motorsports or Bimmer World. These parts include the coolant hose adapter to allow the OBDI rubber hose to be used ($92 picture in the top right corner of the fist picture). This hose is needed to properly fit the new OBD one harness to the engine without interference issues and is highly recommended. Next was the cutch and flywheel combination (more info later in the thread) these were sourced on Ebay for under $400 shipped and work quite well. UPDATE PRESSURE PLATE MAY BE A KNOCKOFF BUYER BEWARE!!! Also Pressure plate bolts provided were 10.9 grade, OEM Bolts are 12.9. Solution: fastenal part number 35763 The slave cylinder is the part for an 97 M3 but any E36 M3 cylinder should world (Bav Auto) I also replaced all of the electrical sensors with new ones just to ensure proper fit and operation longevity . 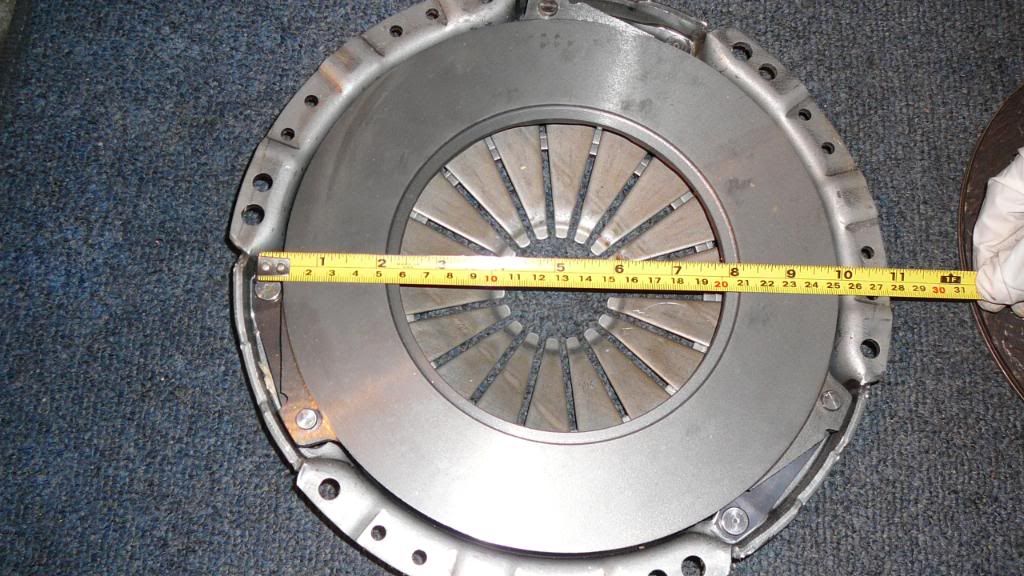 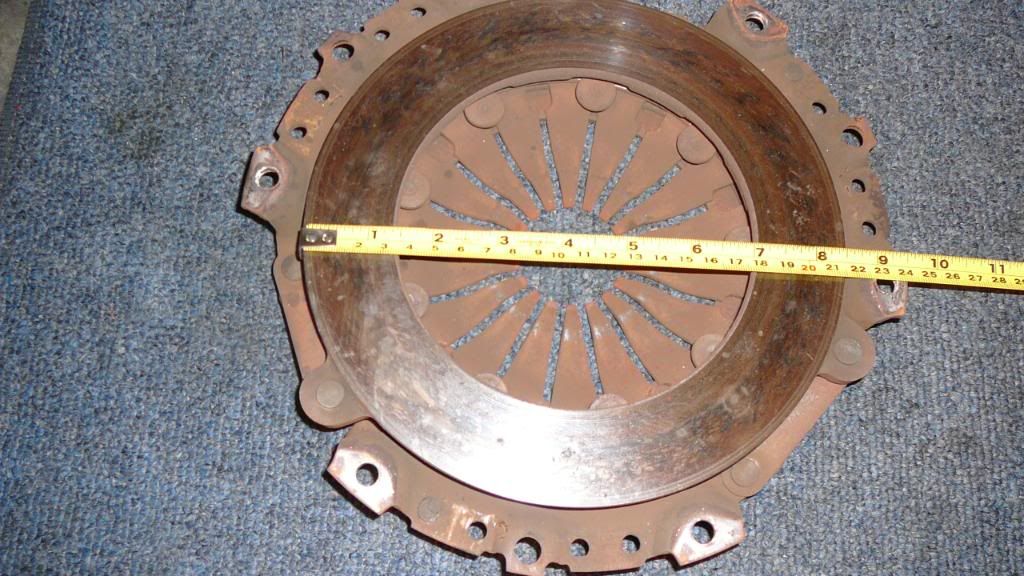 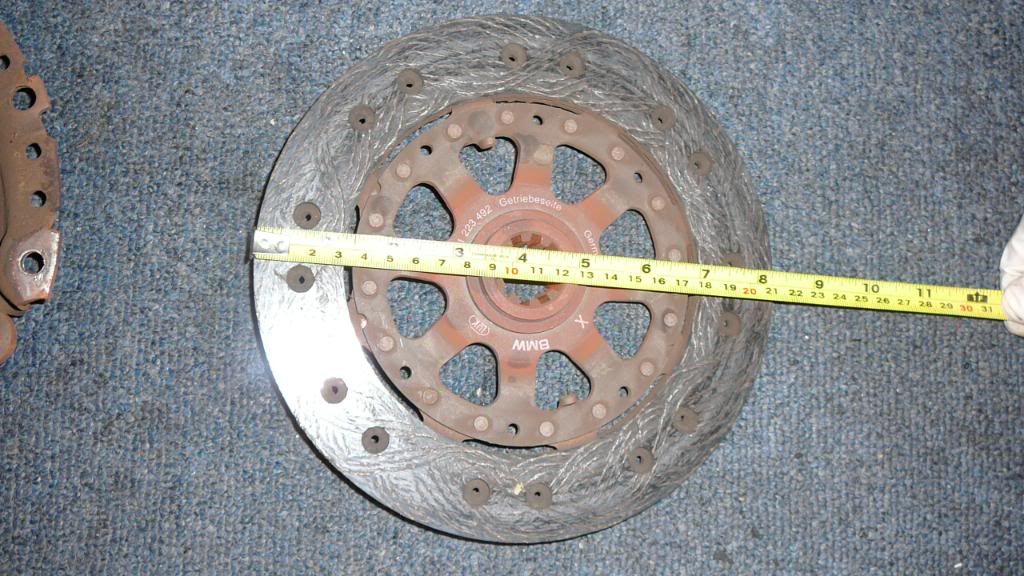 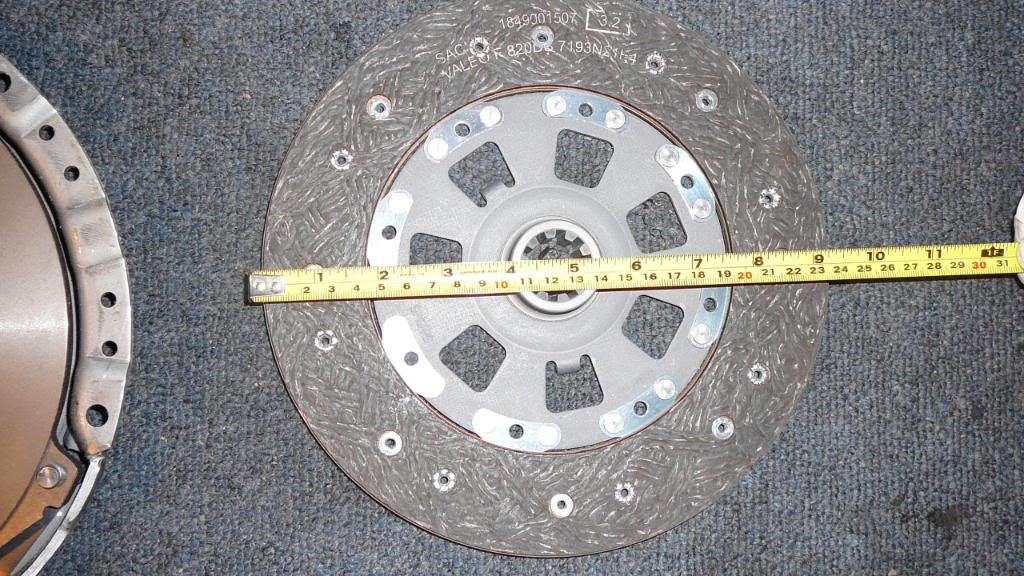
Last edited by dahamler; 08-01-2011 at 01:11 PM. | | | | | 01-30-2008, 02:59 AM | #9 | | Senior Member Join Date: Aug 2007 Location: Monterey, CA Posts: 770 |
Last edited by dahamler; 08-01-2011 at 01:12 PM. | | | | | 01-30-2008, 03:01 AM | #10 | | Senior Member Join Date: Aug 2007 Location: Monterey, CA Posts: 770 |
Last edited by dahamler; 08-01-2011 at 01:13 PM. | | | | | 01-30-2008, 03:02 AM | #11 | | Senior Member Join Date: Aug 2007 Location: Monterey, CA Posts: 770 |
Last edited by dahamler; 08-01-2011 at 01:15 PM. | | | | | 01-30-2008, 03:02 AM | #12 | | Senior Member Join Date: Aug 2007 Location: Monterey, CA Posts: 770 |
Last edited by dahamler; 08-01-2011 at 01:15 PM. | | | | | 01-30-2008, 03:05 AM | #13 | | Senior Member Join Date: Aug 2007 Location: Monterey, CA Posts: 770 |
Last edited by dahamler; 08-01-2011 at 01:17 PM. | | | | | 01-30-2008, 03:06 AM | #14 | | Senior Member Join Date: Aug 2007 Location: Monterey, CA Posts: 770 |
Last edited by dahamler; 08-01-2011 at 01:17 PM. | | | | | 01-30-2008, 03:08 AM | #15 | | Senior Member Join Date: Aug 2007 Location: Monterey, CA Posts: 770 |
Last edited by dahamler; 08-01-2011 at 01:19 PM. | | | | | |
| Currently Active Users Viewing This Thread: 1 (0 members and 1 guests) | | |
 Posting Rules Posting Rules | You may not post new threads You may not post replies You may not post attachments You may not edit your posts
HTML code is Off
| | |
|


 Linear Mode
